Nail this summer trend: ’70s inspired flower nail decals
Club Crafted creator and all-around crafter Holly Wade shows you how to make beautiful, custom nail art with help from Cricut Smart Materials!
“Nail this summer trend: ’70s inspired flower nail decals
“
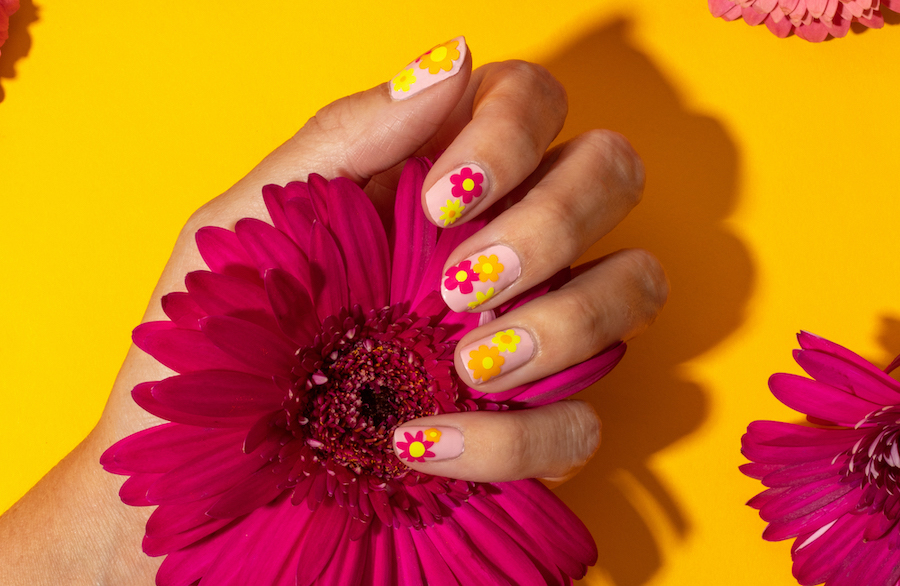
Nothing says “I’m ready for vacation” like a custom set of summer nails as you embark on your next adventure. Did you know you can use your Cricut machine to make your own nail decals?! Believe it – see how I used my Cricut Joy to make ’70s-inspired flower nail decals for the ultimate summer manicure!

Now, let me prepare you for the one difficult aspect of this summer nails tutorial. It’s tricky to decorate with your non-dominant hand. As an avid nail-painter, I have a lot of practice painting and decorating my own nails. If you’re not used to using your non-dominant hand, it will take a little longer to complete your design. Don’t worry though, it’s still totally doable!
With a few of your favorite Cricut Permanent Smart Vinyl colors – remember, the ’70s were all about bold colors – you can make a fun summer mani that will make everyone else jealous.
Supplies
- Cricut Joy or choice of machine
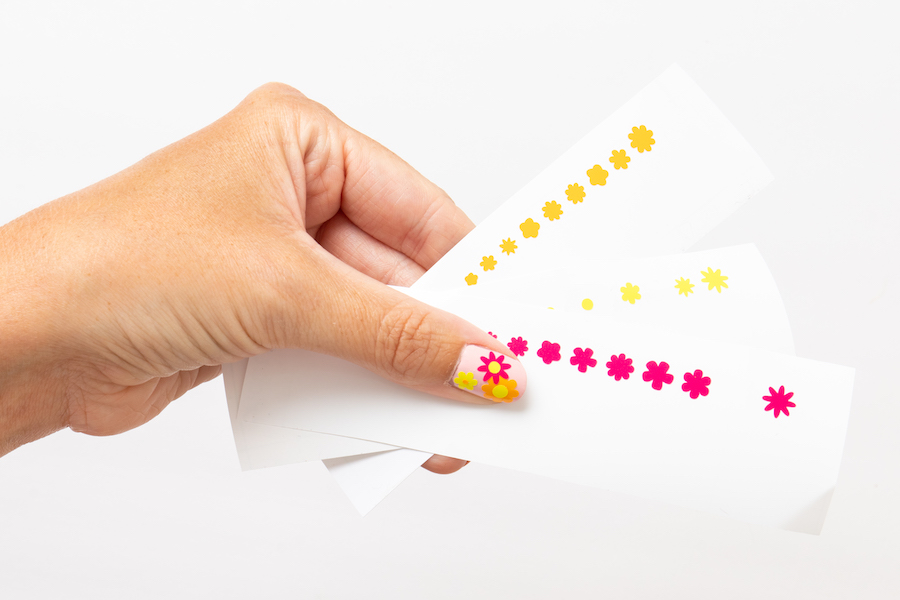
- Permanent Smart Vinyl (Party Pink, Tennis Ball and Tangerine)
- Basic Tool Set
- Nail polish, color of choice
- Clear top coat nail polish (quick-dry recommended)
- Flower Power Nail Decals template
You can even use acrylic nails! These flower nail decals will work on real nails or false ones. If using acrylic nails, you may find it easiest to apply the decals before applying them to your nails. This way, you don’t have to use your non-dominant hand to decorate.
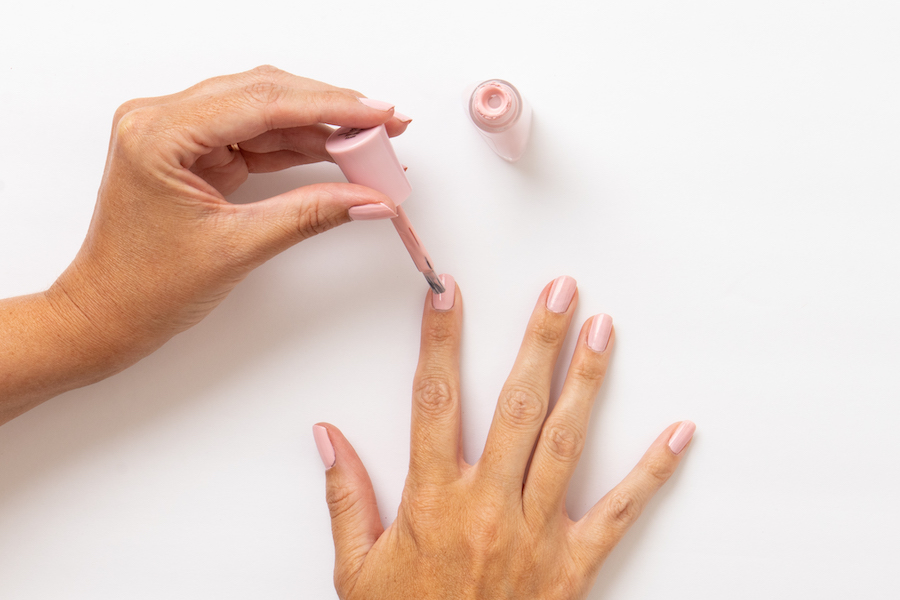
Step 1: Paint your nails
Use your favorite summer shade to paint your nails (or a friend’s!) as the background for your summer manicure. I used a light pink base to balance the bright vinyl.
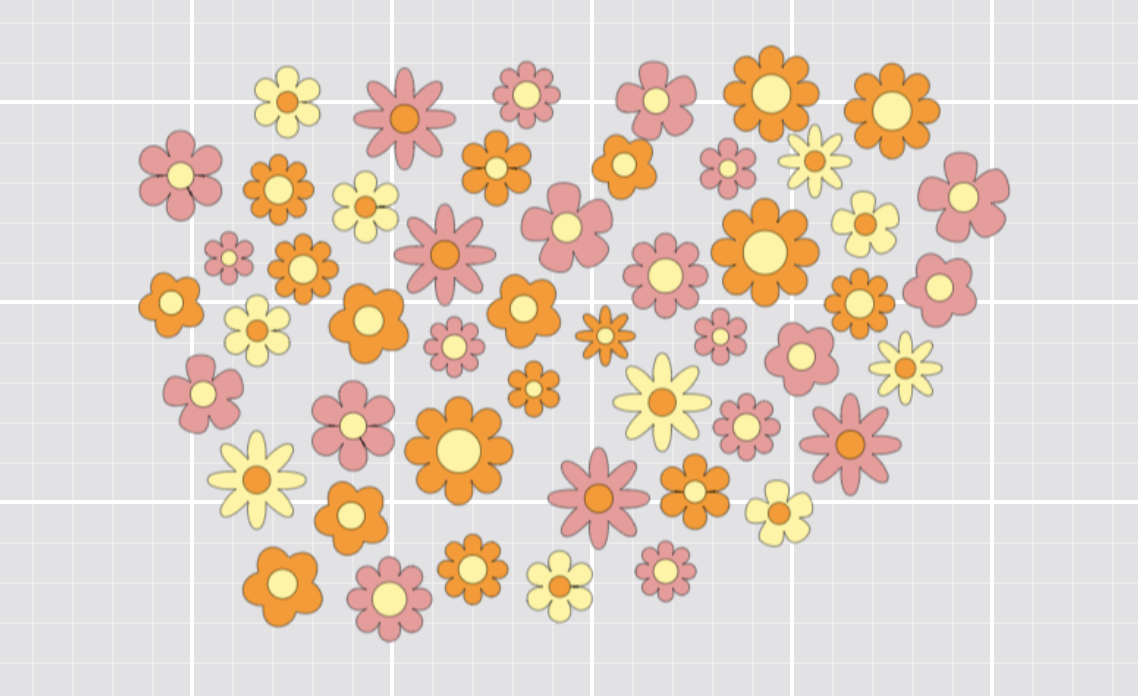
Step 2: Design your decals in Design Space, or try some of our templates
I’m using the Flower Power Nail Decals template. For best results, keep your designs simple.
Step 3: Adjust the sizes as needed for your nails and play with the colors as desired
Keep in mind an adult’s nails will fit decals approximately .25-.5 inches and everyone’s nails differ in size. The template I’m using has multiple sizes to mix and match.
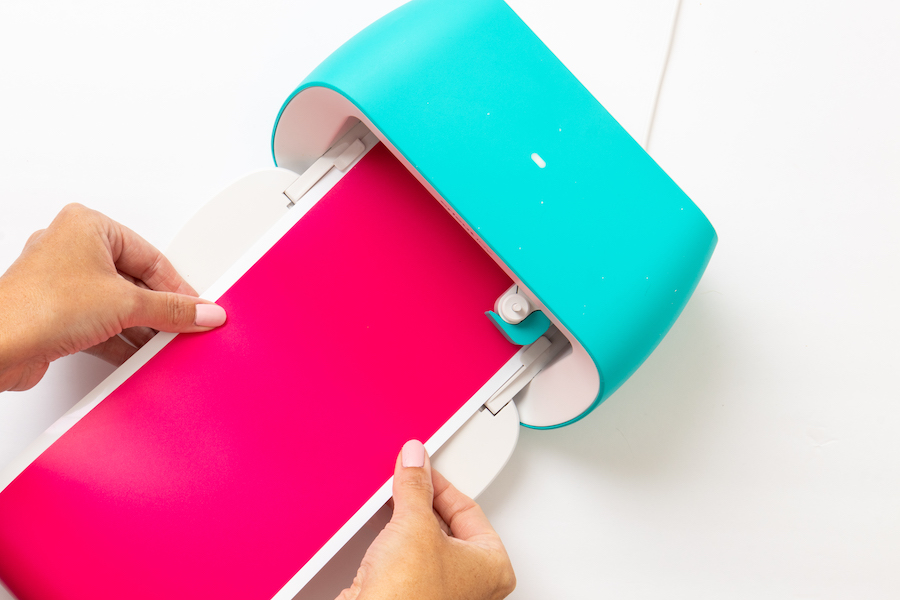
Step 4: When you’re ready, click “Make It”
Choose “Smart Materials” if using, or load scrap vinyl pieces onto a Standard Grip Mat. This is a great way to use up leftover vinyl!
Step 5: Select “Permanent Vinyl” for your material
Then follow the machine instructions to load the vinyl. Finally, click “Go.”
Step 6: Once cutting is complete, click “Unload”
Repeat with each color of vinyl in your design.
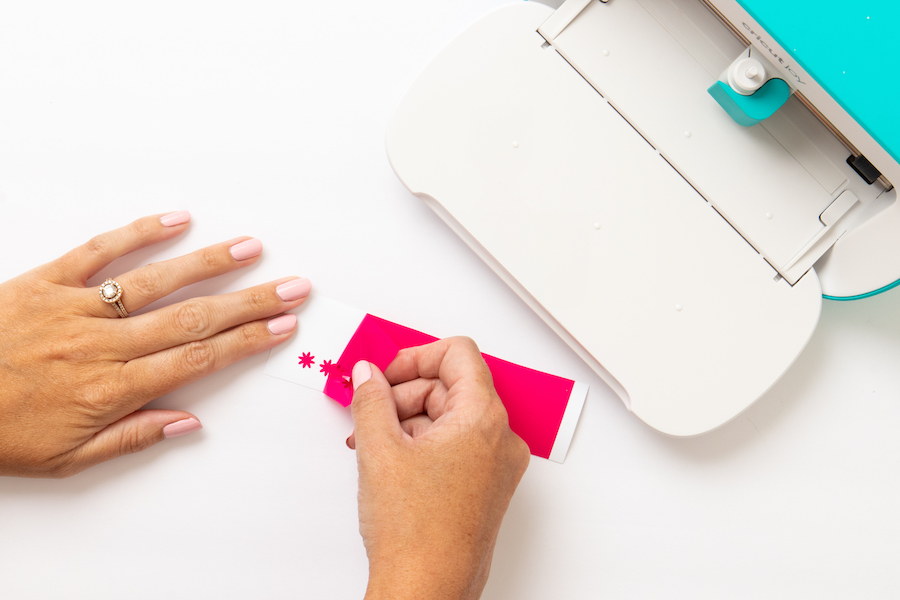
Step 7: Cut the section of vinyl decals from the rest of the Smart Vinyl
Then remove the excess vinyl around your design. Be careful! These tiny pieces need to be weeded with caution.
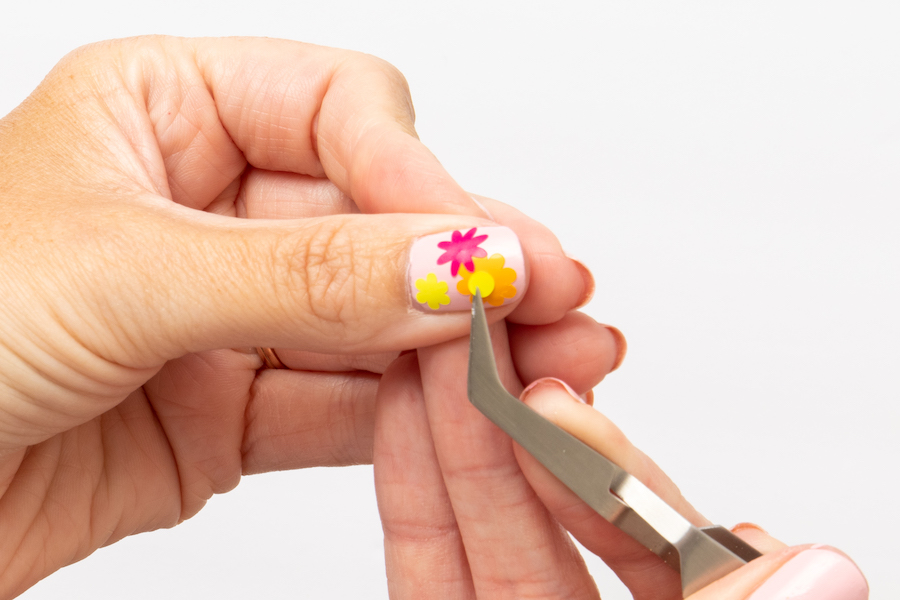
Step 8: Use a pair of tweezers and your weeding tool to pick up individual flowers and apply them to your nails
Go slowly and overlap some of the flower designs. If you go over the edge of your nail, use a pair of nail clippers to cut the sides of the vinyl. Don’t forget to add the middle circles of the flowers!
Step 9: Finally, when you’re finished applying the vinyl, paint a clear coat of polish over your nails
A high-quality topcoat will yield the best results! If needed, apply two coats to seal your design.
I’ll bet none of your friends have summer nails THIS cute! I feel instantly transported to the ’70s with these flower nail decals. With two clear topcoats, you can expect the decals to last about 5 days, but this depends a lot on how much use your hands get (i.e. lots of cooking, cleaning, crafting, etc. will wear them out faster). Enjoy your new summer nails!
Related Making

Search How-To
I want to make...