How to make personalized greeting cards cards
Skill level
Beginner
This easy happy birthday card can take as little as 30 minutes to make.
Why run to the store for a card when you could make happy birthday cards with Cricut Explore 3?
We used this project in Cricut Design Space as our template and followed it step-by-step.
Supplies needed
Print this list
Make your own birthday cards
Step 1 – Find the project in Design Space
Follow the instructions on how to make a card with Cricut in the Cricut Design Space project description. The prompts in the software will guide you through cutting and drawing each piece of the card.
Step 2 – Assemble your card
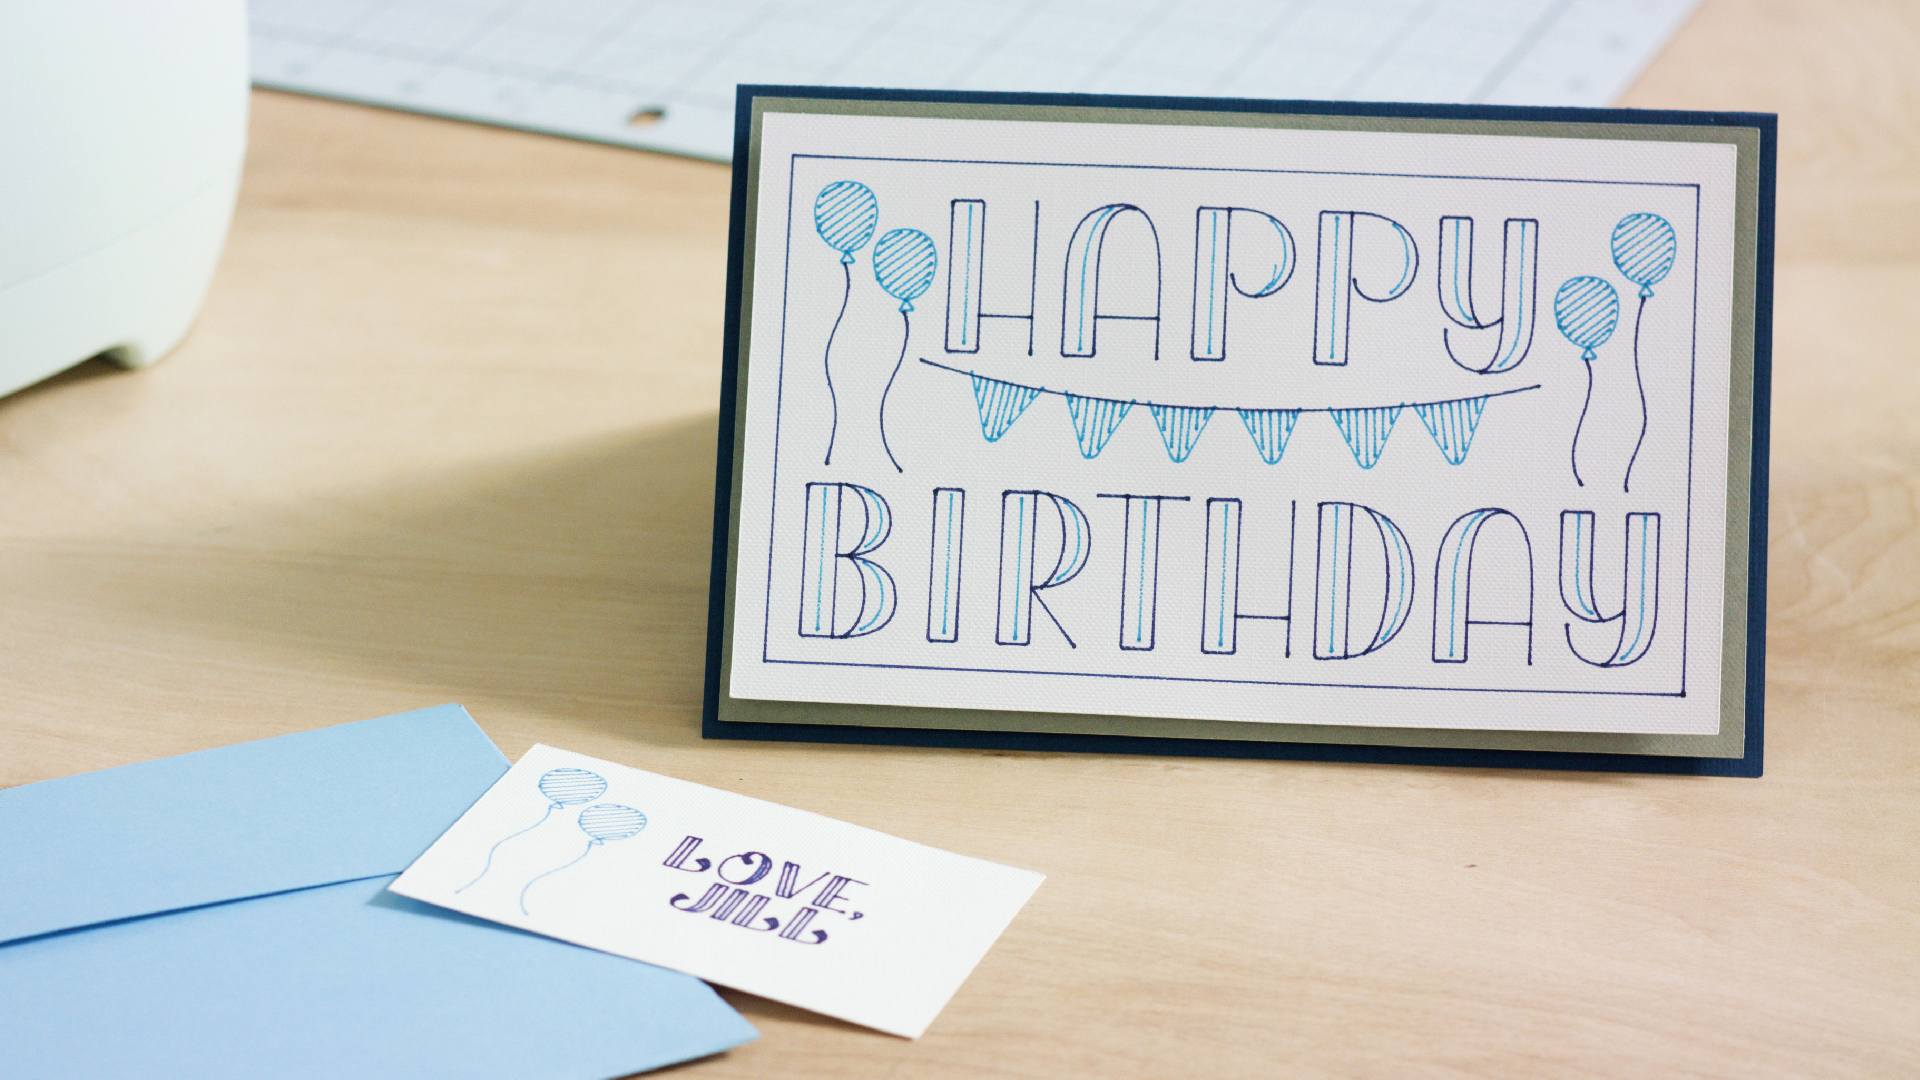
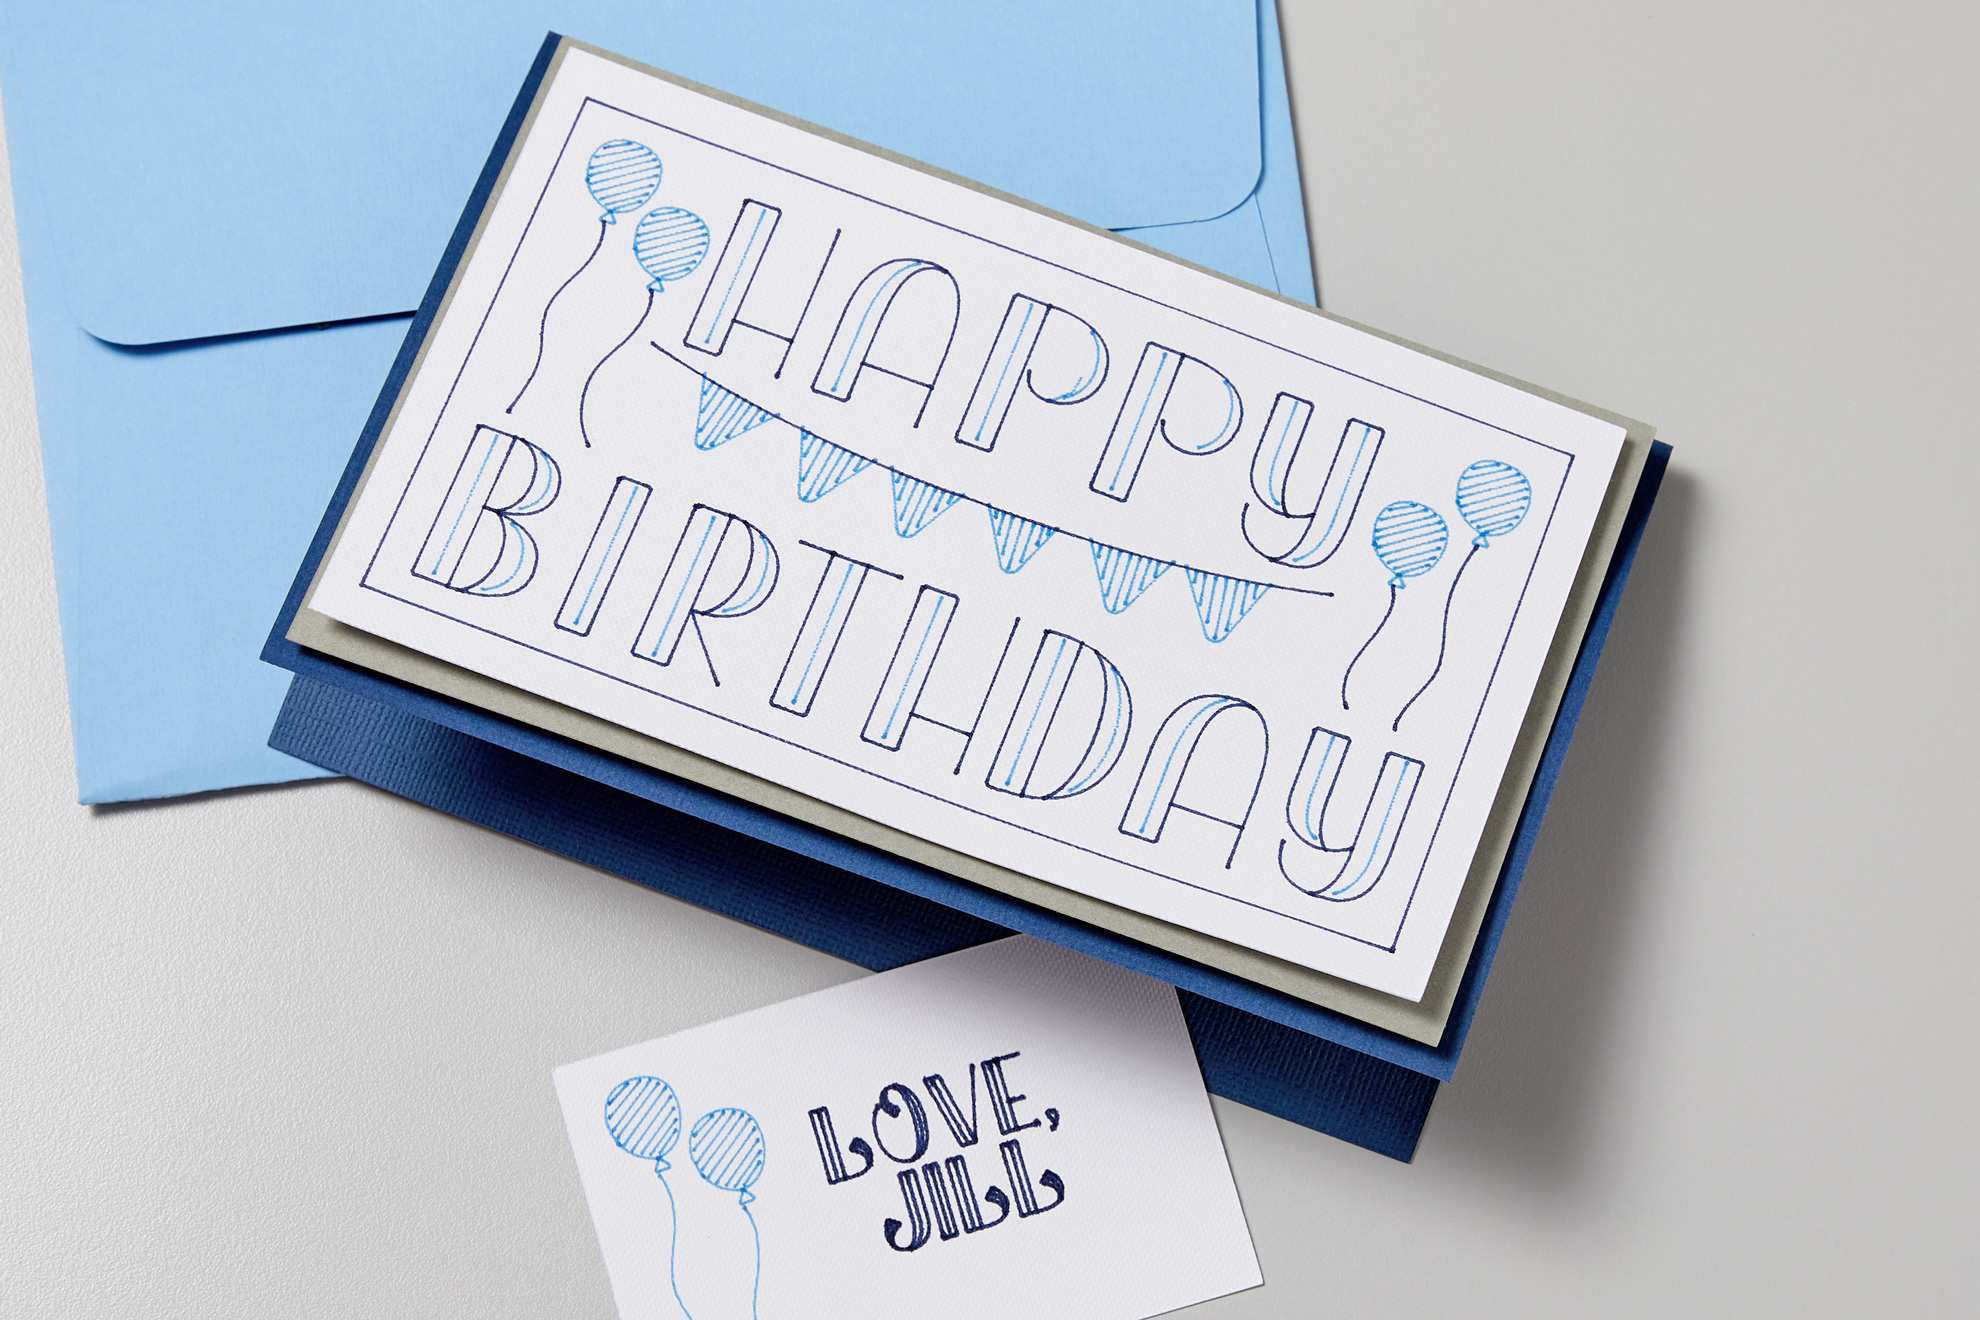
Once all the pieces are done cutting, and removed from the mat, it’s time to assemble! This is the fun part. Use foam dots on all four corners and the middle of your rectangle pieces and attach to the front of your card in ascending order. Place the last and final piece, with the drawn “Happy Birthday” sentiment on top.
Step 3 – Make your envelope (optional)
This project also helps you make a card envelope out of paper. Cricut will score fold lines onto your cardstock before it cuts out the envelope shape. Then, all you have to do is fold on the lines and glue the envelope together.
We made a small customization to this project by having our machine cut and draw a small sentiment, “Love, Jill” with the same pens that the card design was drawn. Find the entire project here for you to customize!
It’s easy to make cards!
We love how easy it is to make happy birthday cards, or any card really, with Cricut. Share the cards you make with us by using #cricut on social!


Search How-To
I want to make...