How to design for curved surfaces for the Cricut Hat Press
Designing for a curved surface, like hats, can be tricky. Reference this helpful guide when creating designs with Cricut Hat Press.
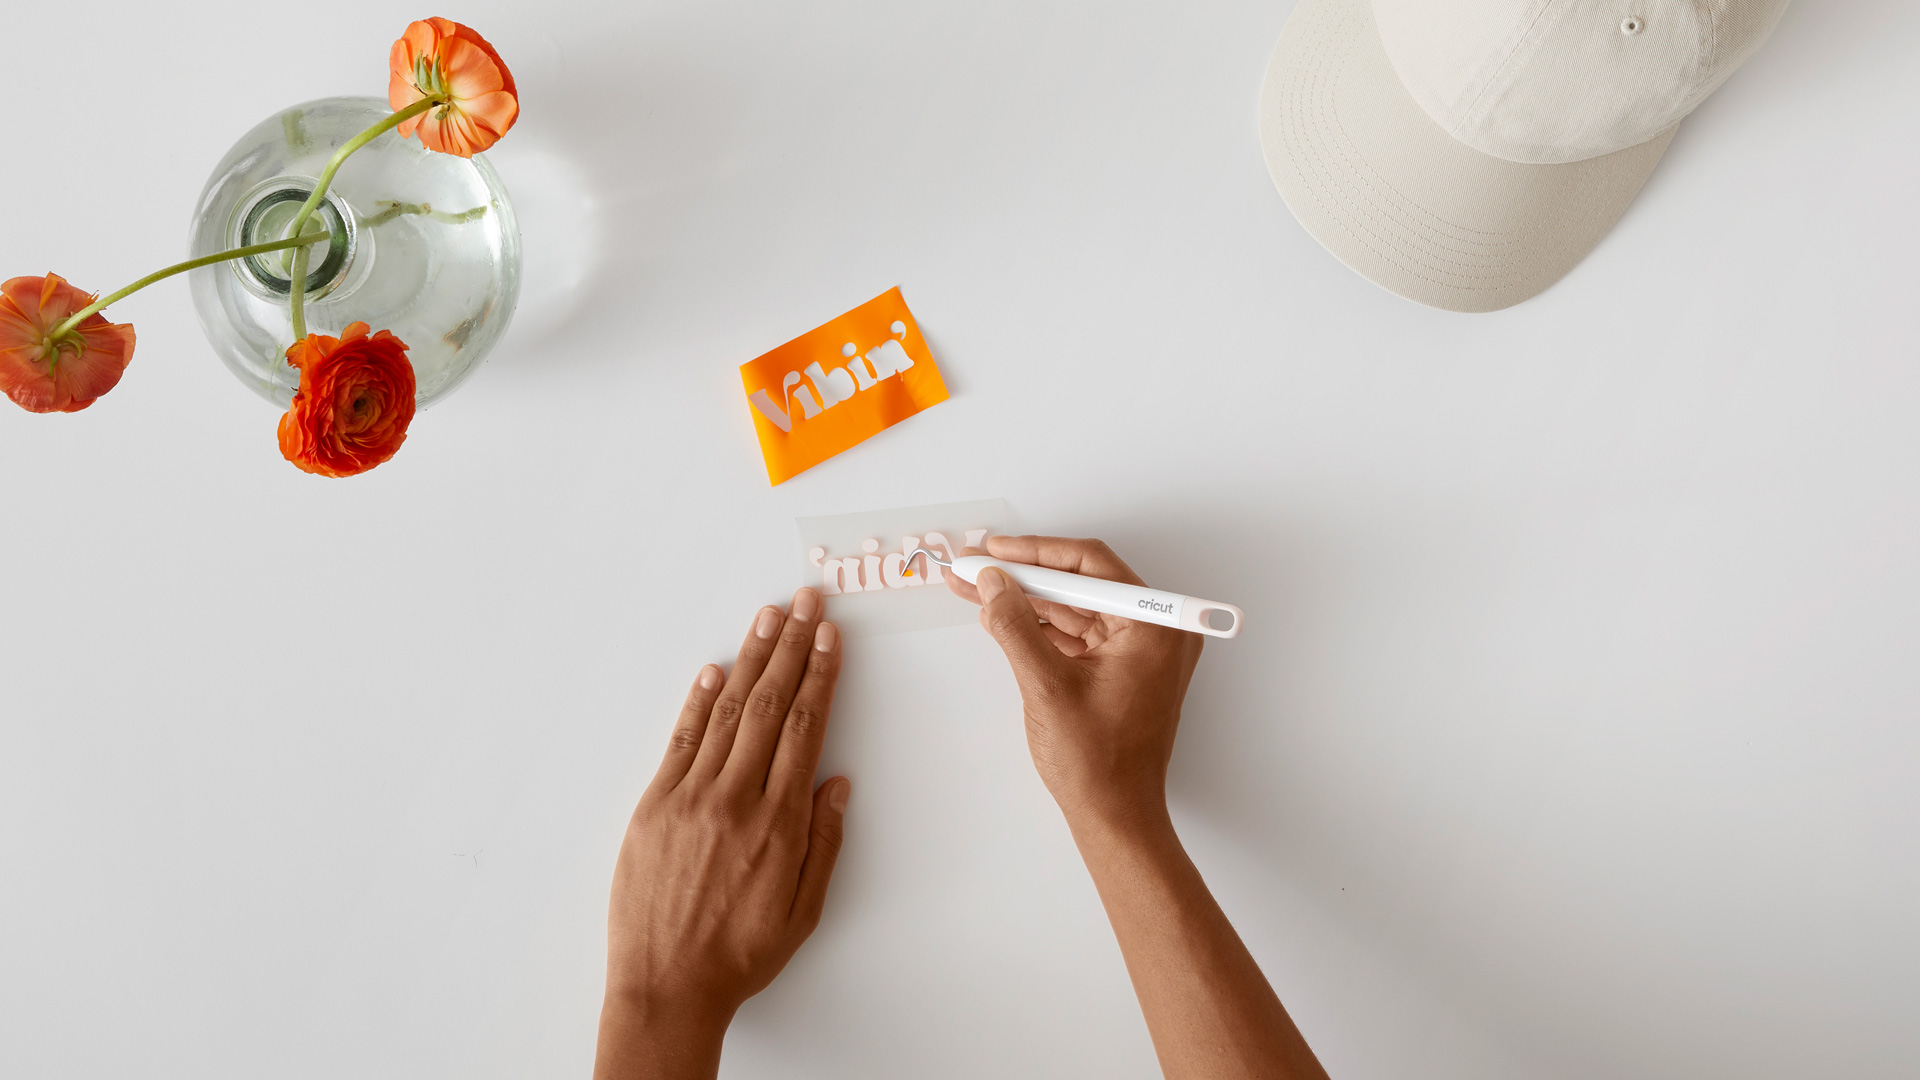
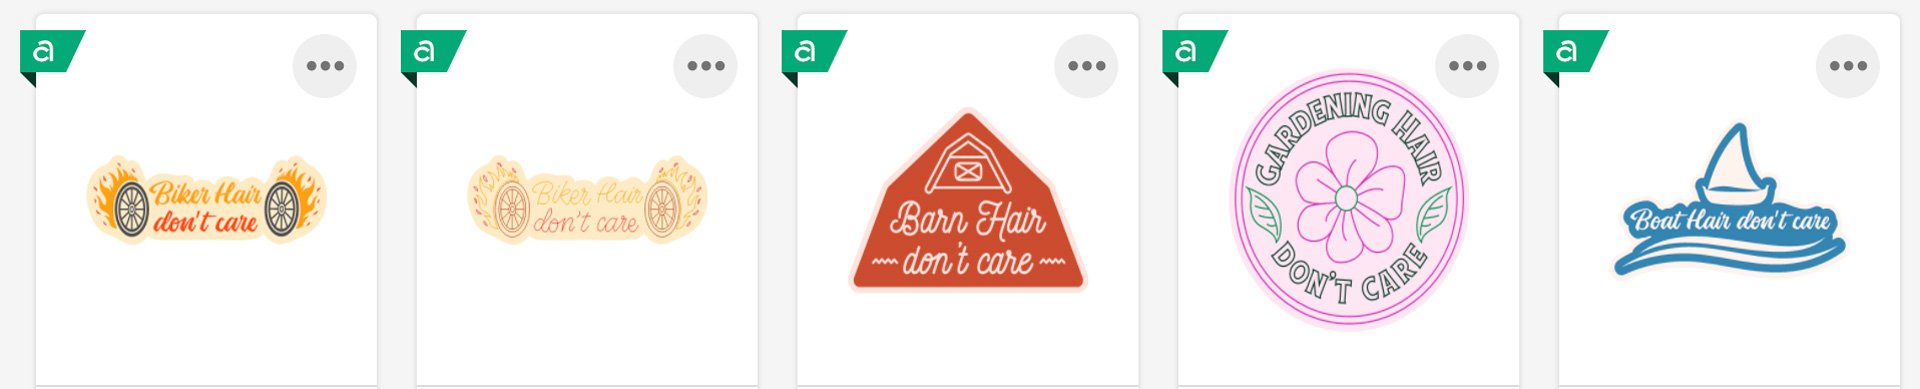
Sometimes getting started on a design is the hardest part. That’s where Cricut Design Space comes in. We’ve got you covered with a variety of images to design for curved surfaces for the many different hats you may wear.
Search the fun images and patches in Design Space and see what shows off your personality or may make the perfect design for a gift or new item in your small business shop. Or use those images as inspiration and build from there!
To see more images and projects specifically for Cricut Hat Press, search “Hat Design” in the search bar. But if you’re ready to start from scratch, read on.
Start from scratch in Design Space
Hats come in all different shapes and sizes, so while we can’t tell you the exact dimensions to design for every type of hat, we can give you some guidance on how to design for Cricut hat blanks (or similarly styled hats).
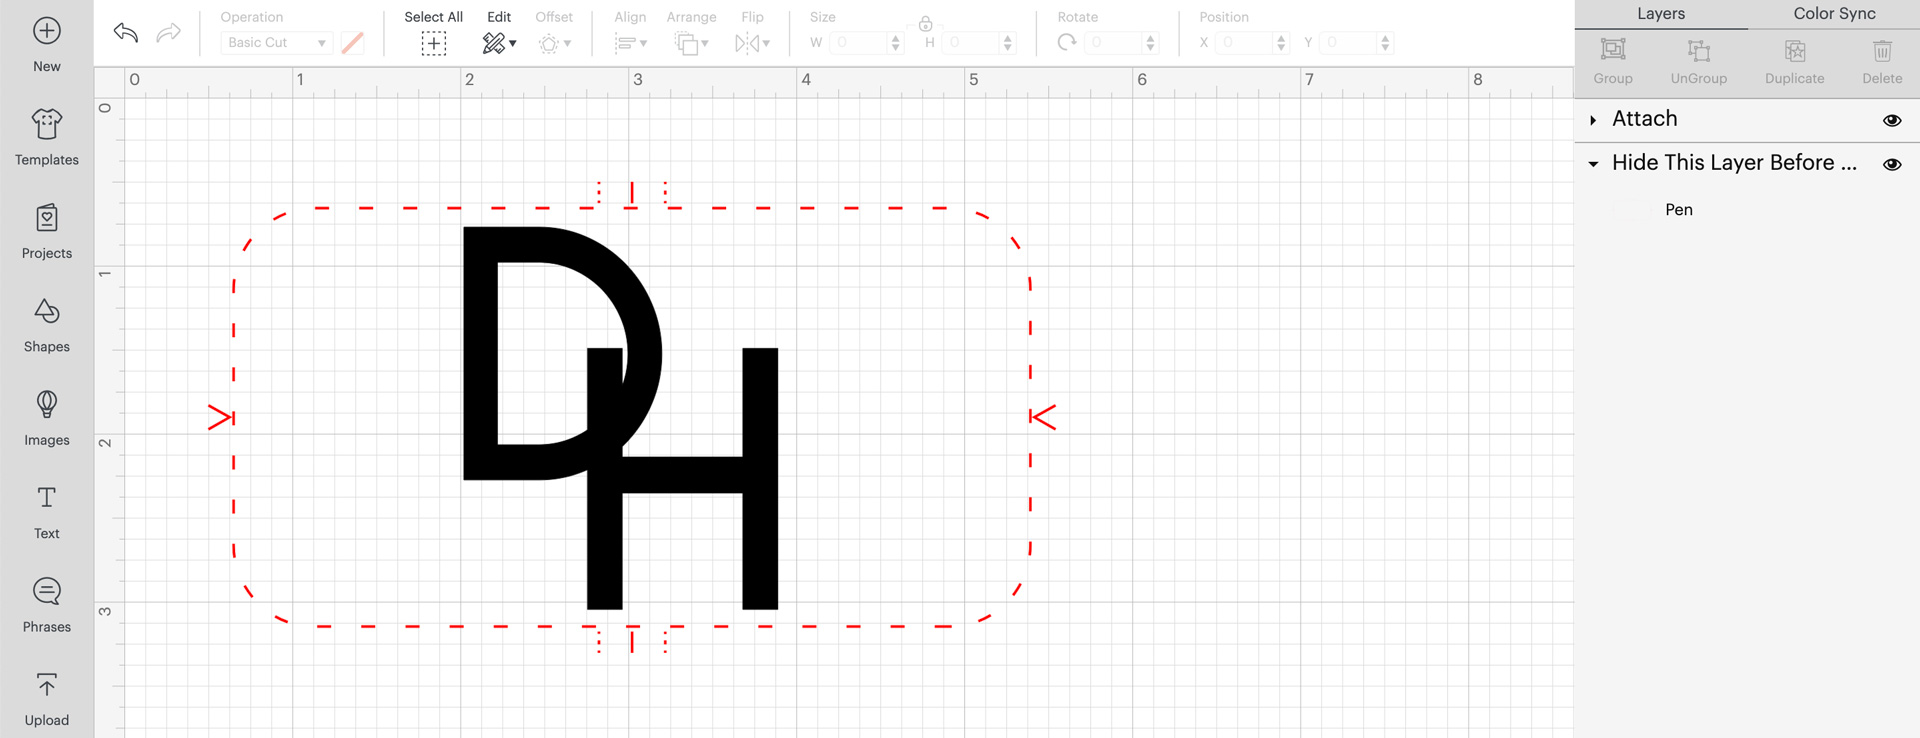
Let’s start in Design Space. In the search bar, search for the “Hat Press Design Setup” project. Click customize to add this template to your canvas.
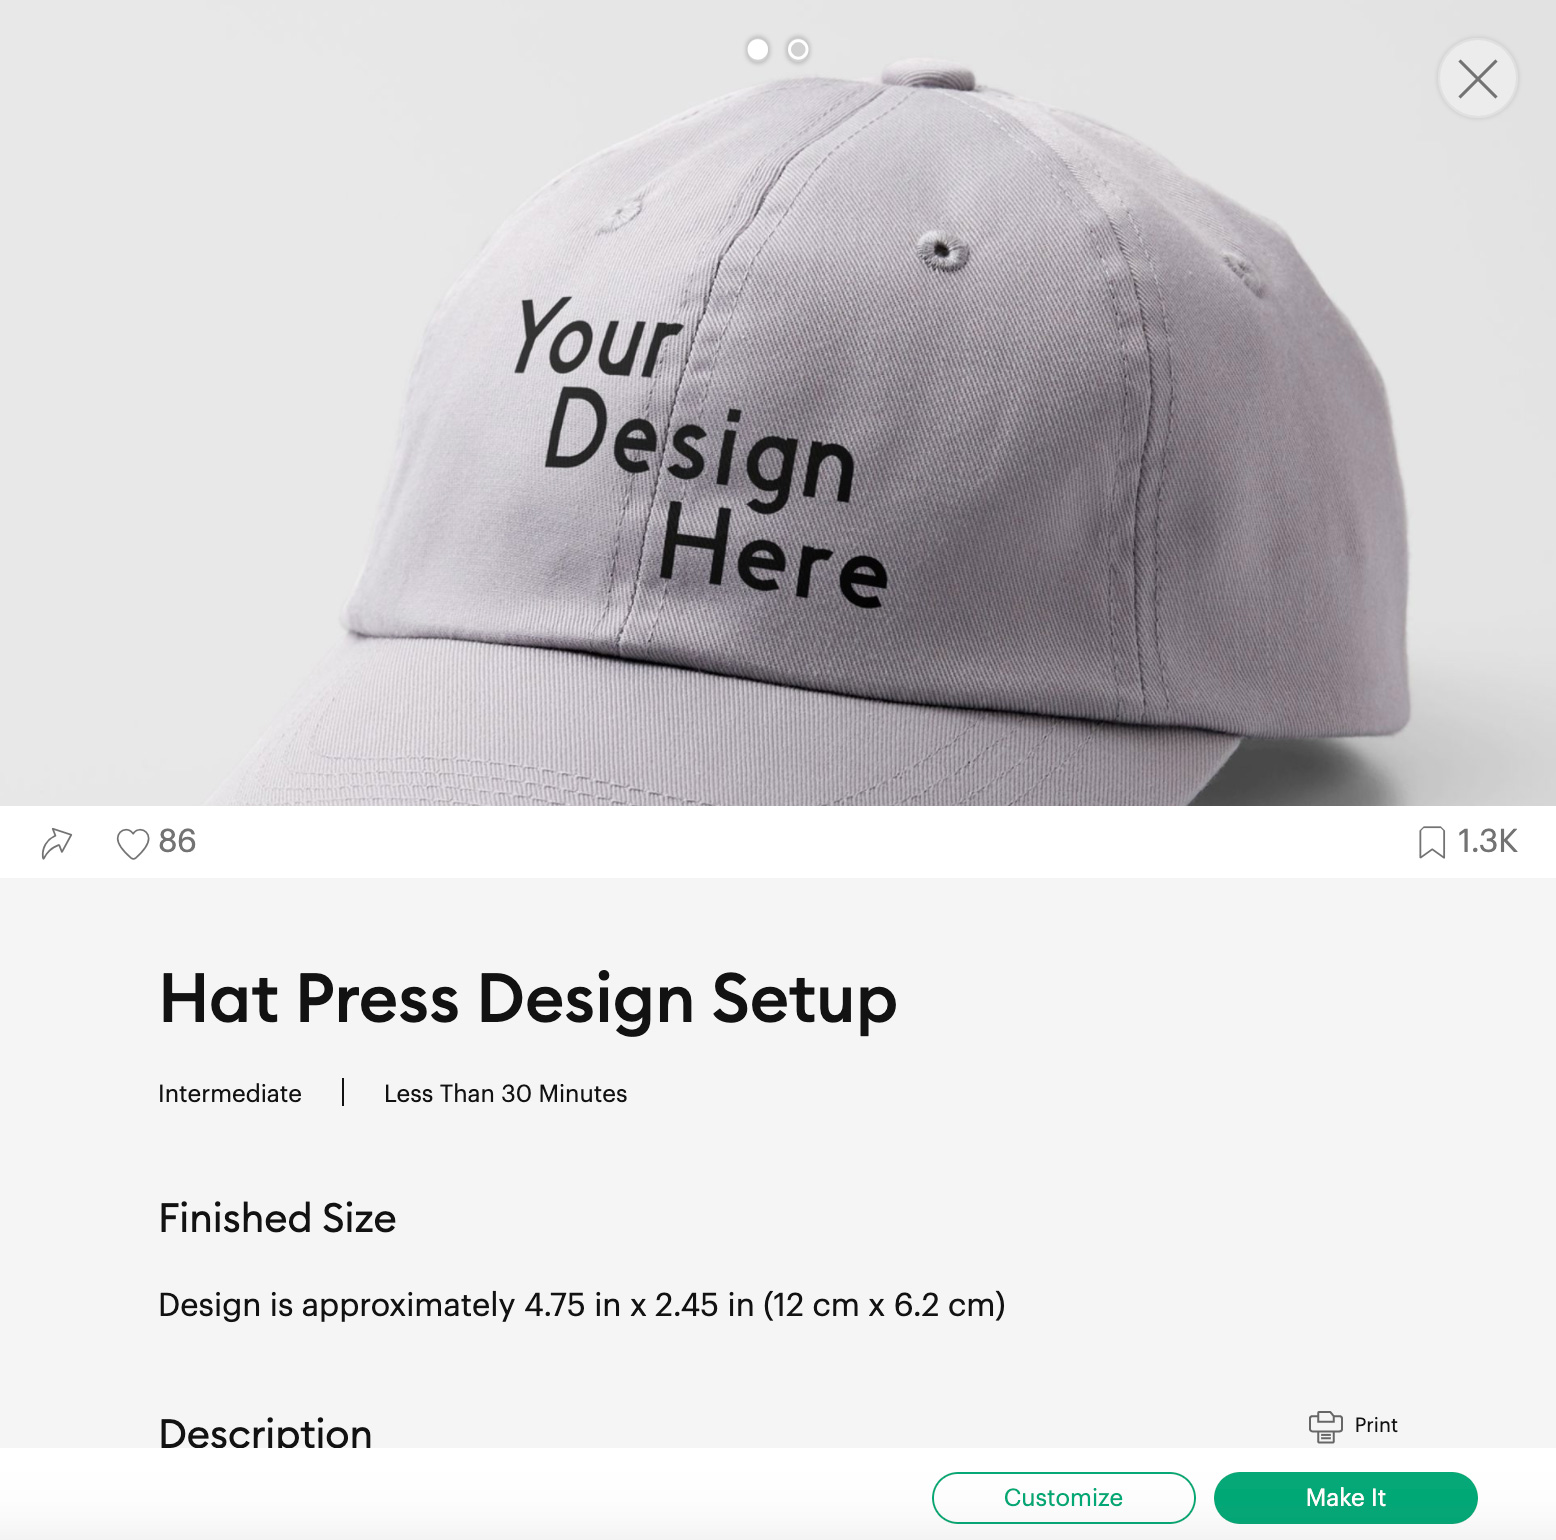
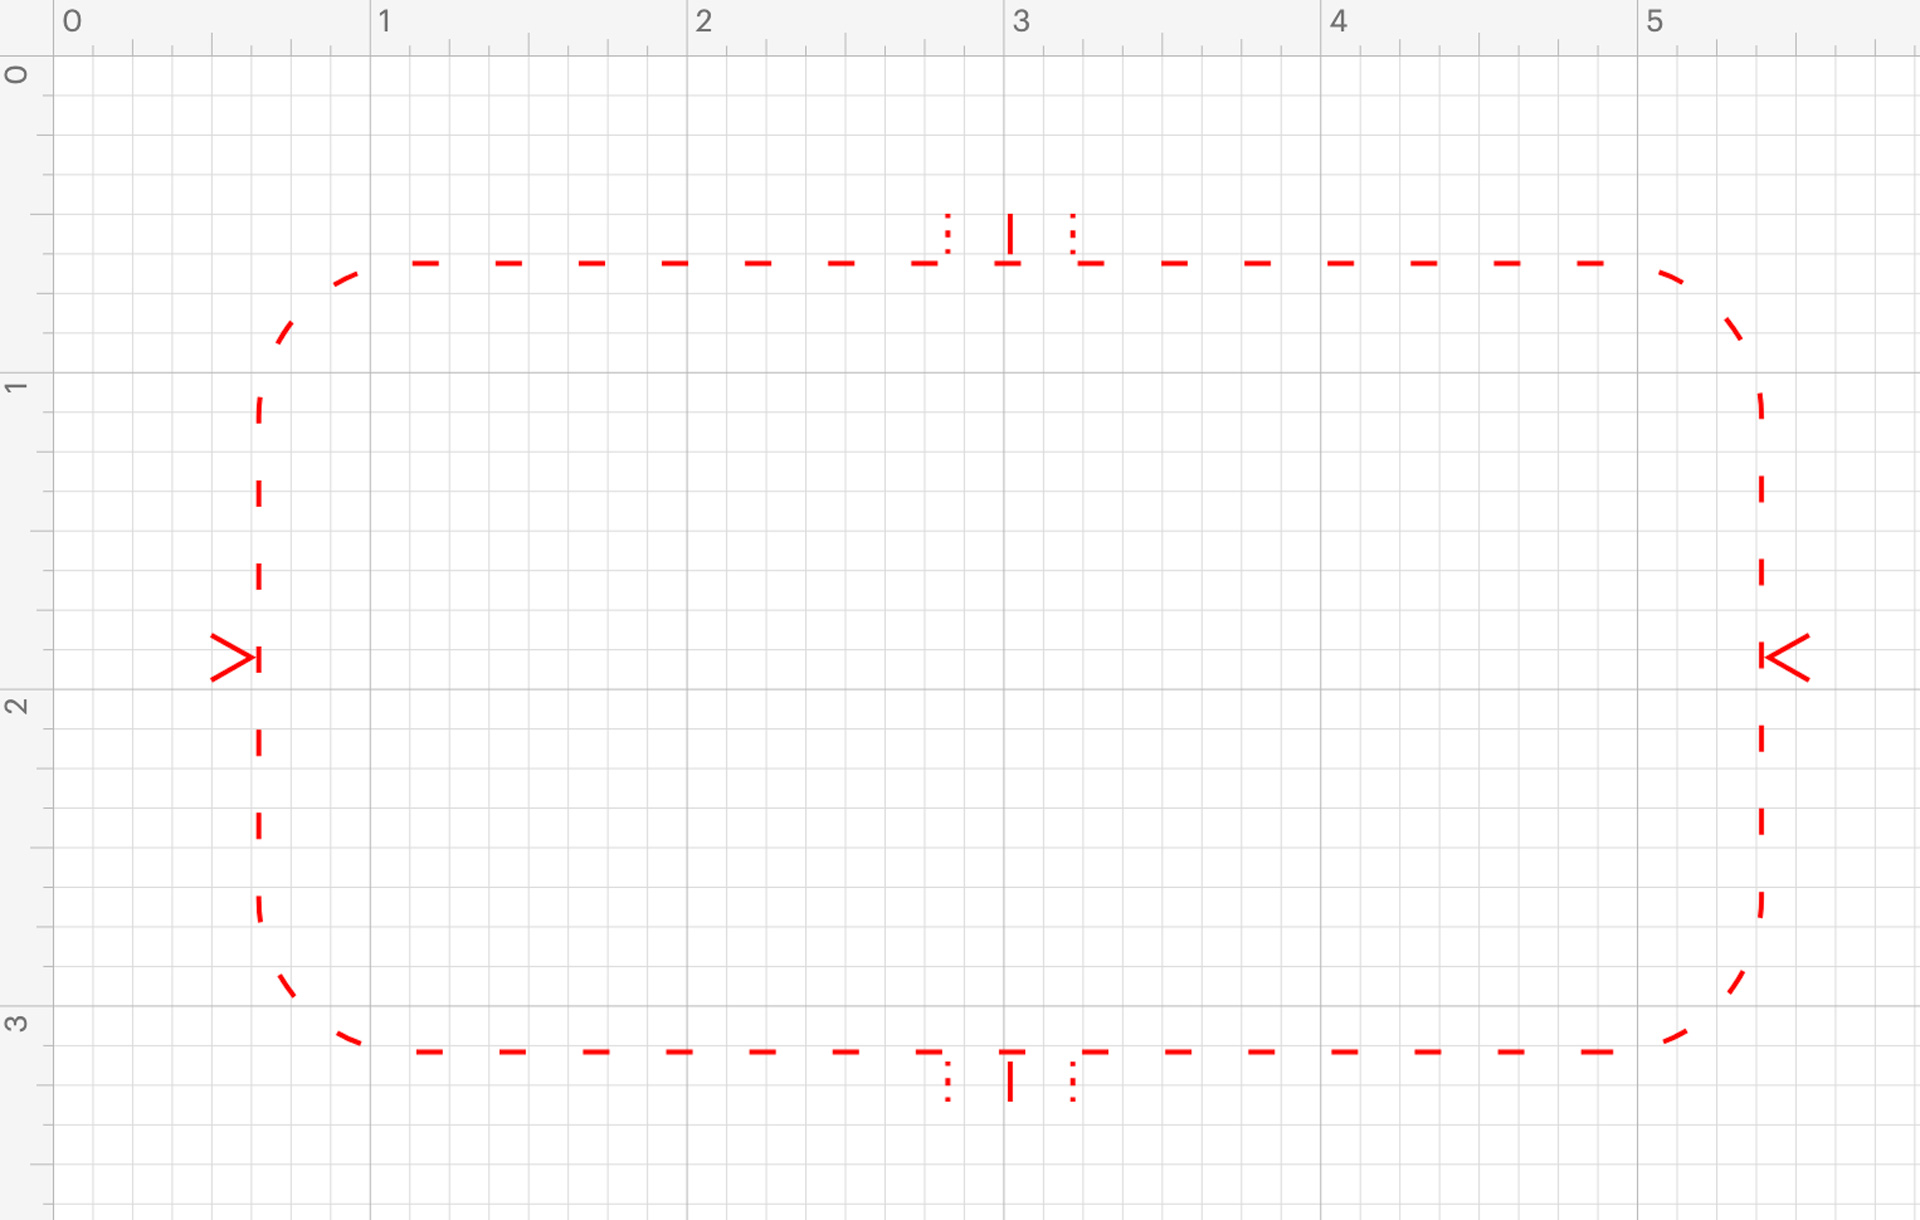
This design template is sized to fit Cricut hat blanks or similarly styled adult hats. Because this is the case, we recommend that you don’t resize this layer as its dimensions will help you decide the size of your design. For the best press success, we recommend that your design size does not exceed 4.25 in x 2.25 in. This means not designing outside of the dashed red lines! The hash marks on the top and bottom of the template indicate the vertical center, while the notches on the left and right of the template indicate the horizontal center.
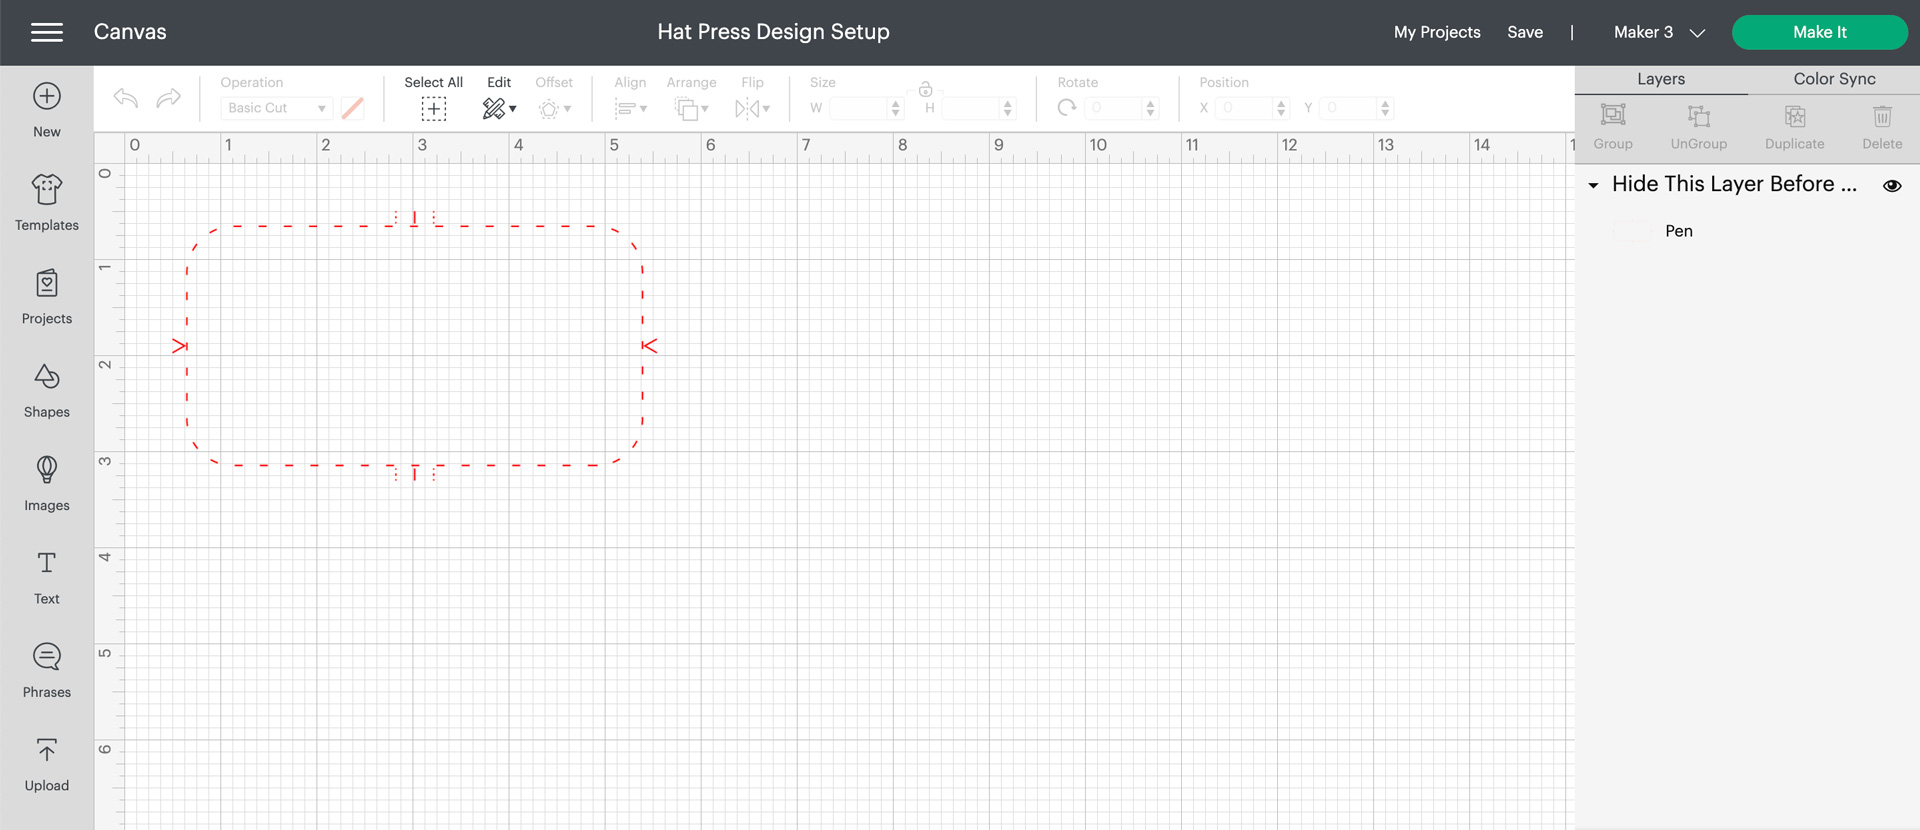
The three dotted markings on the top and bottom of the hat design template reflect the seams and stitching of the gray Cricut baseball cap. You can use these guides when sizing your design and decide whether you want to have your design stay away from the seams or overlap them.
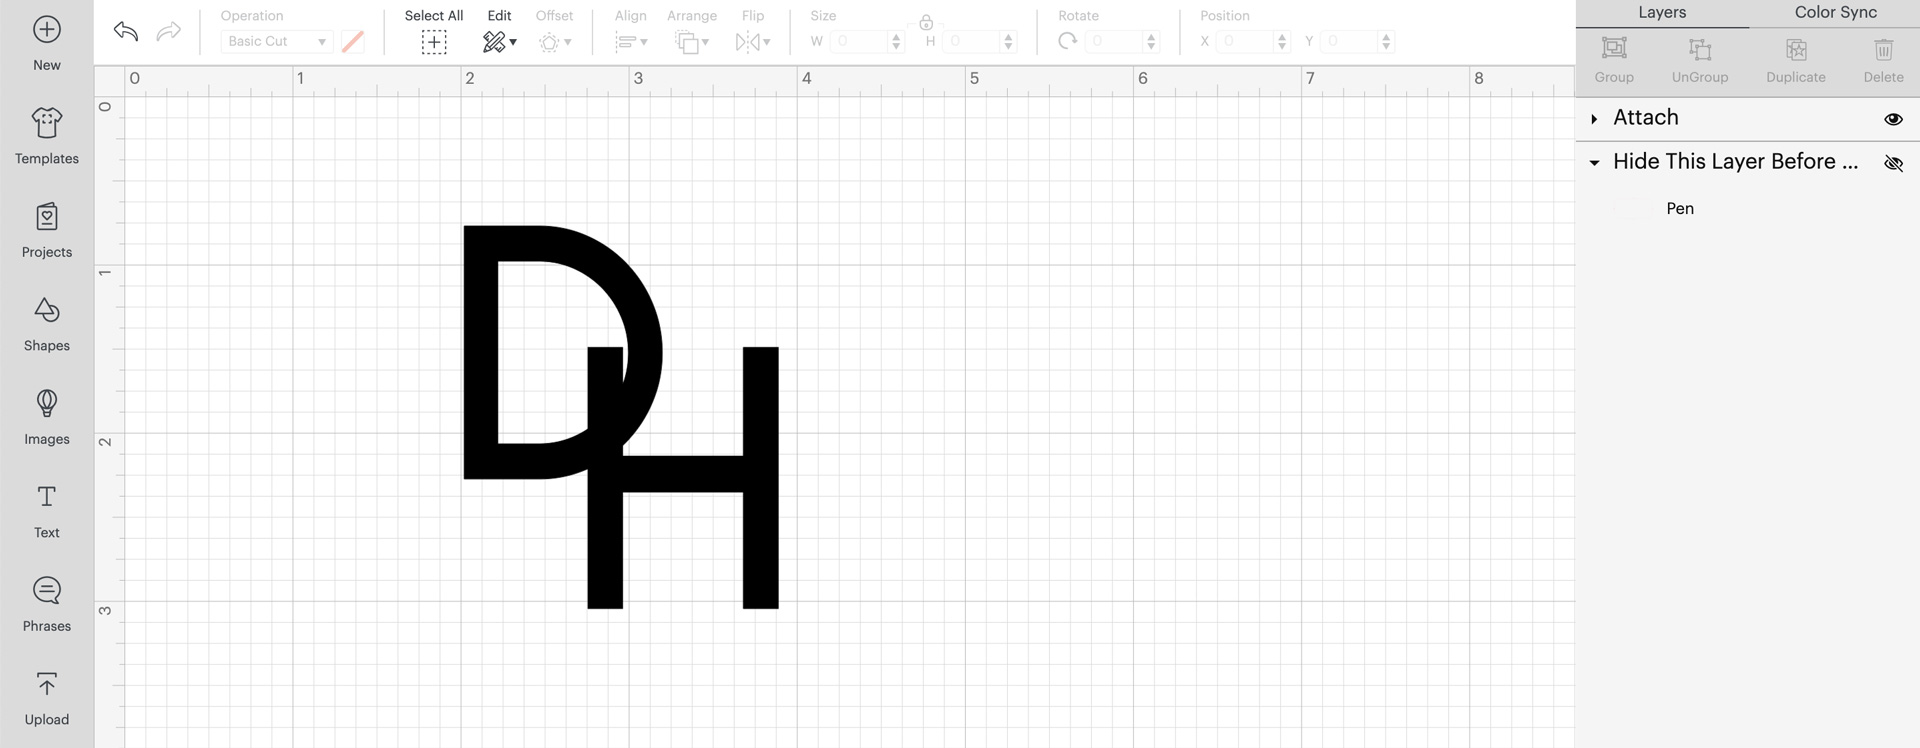
Once you’ve decided that your hat design has reached hat-press-worthy perfection, be sure to hide the template layer before going to cut the design. You can do this by clicking on the “eyeball” icon next to the note titled “Hide This Layer” in the layers panel.
Designing for non-Cricut hat blanks
The possibilities are endless when it comes to the different styles or types of hats available to personalize. When considering customizing a non-Cricut hat, as a rule, you’ll want at least a 0.25” of clearance between a bill or brim of a hat and the bottom of the design.
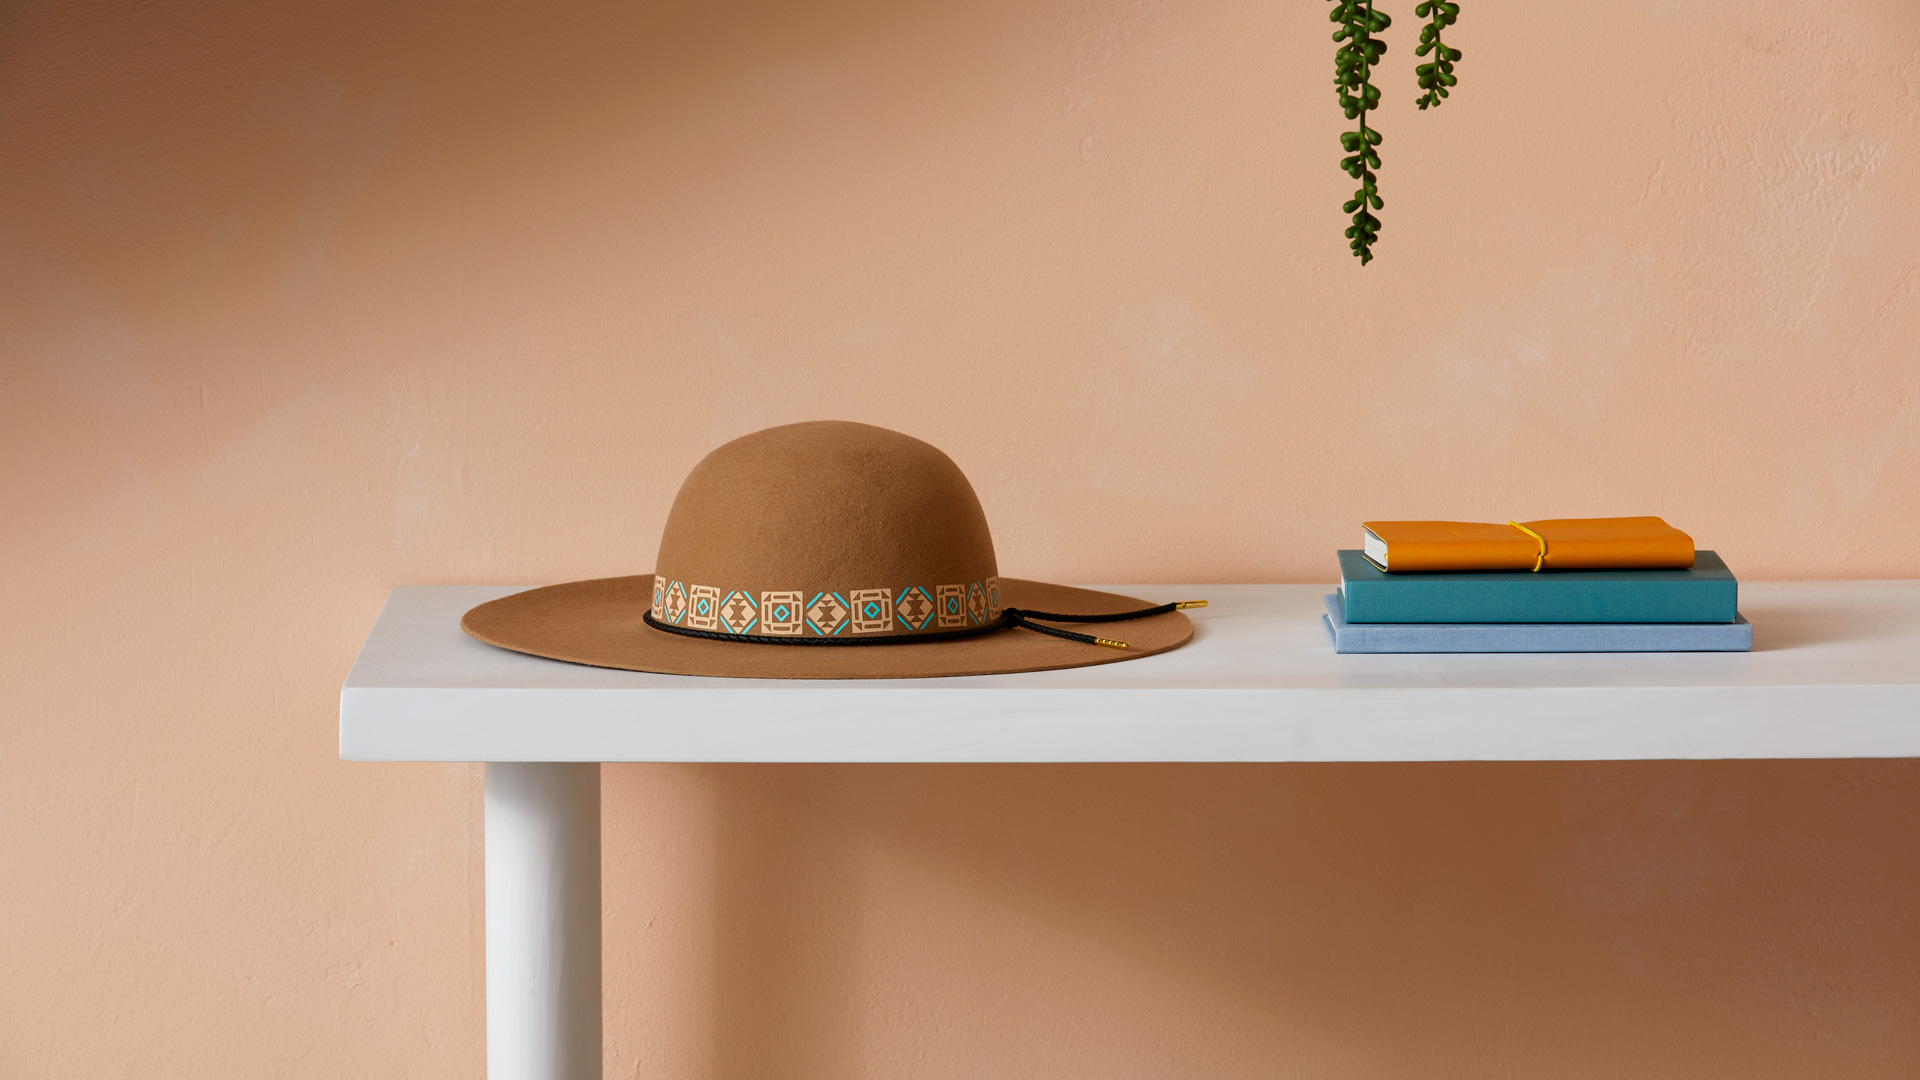
If you want to add a band-like design to a sun or floppy hat like the hat below, be sure to trim the long design in smaller pieces so that the design will appear straight once pressed on. If you don’t trim long designs, it may result in a spiral-like effect on your hat, because most designs are not designed to work on round surface areas.
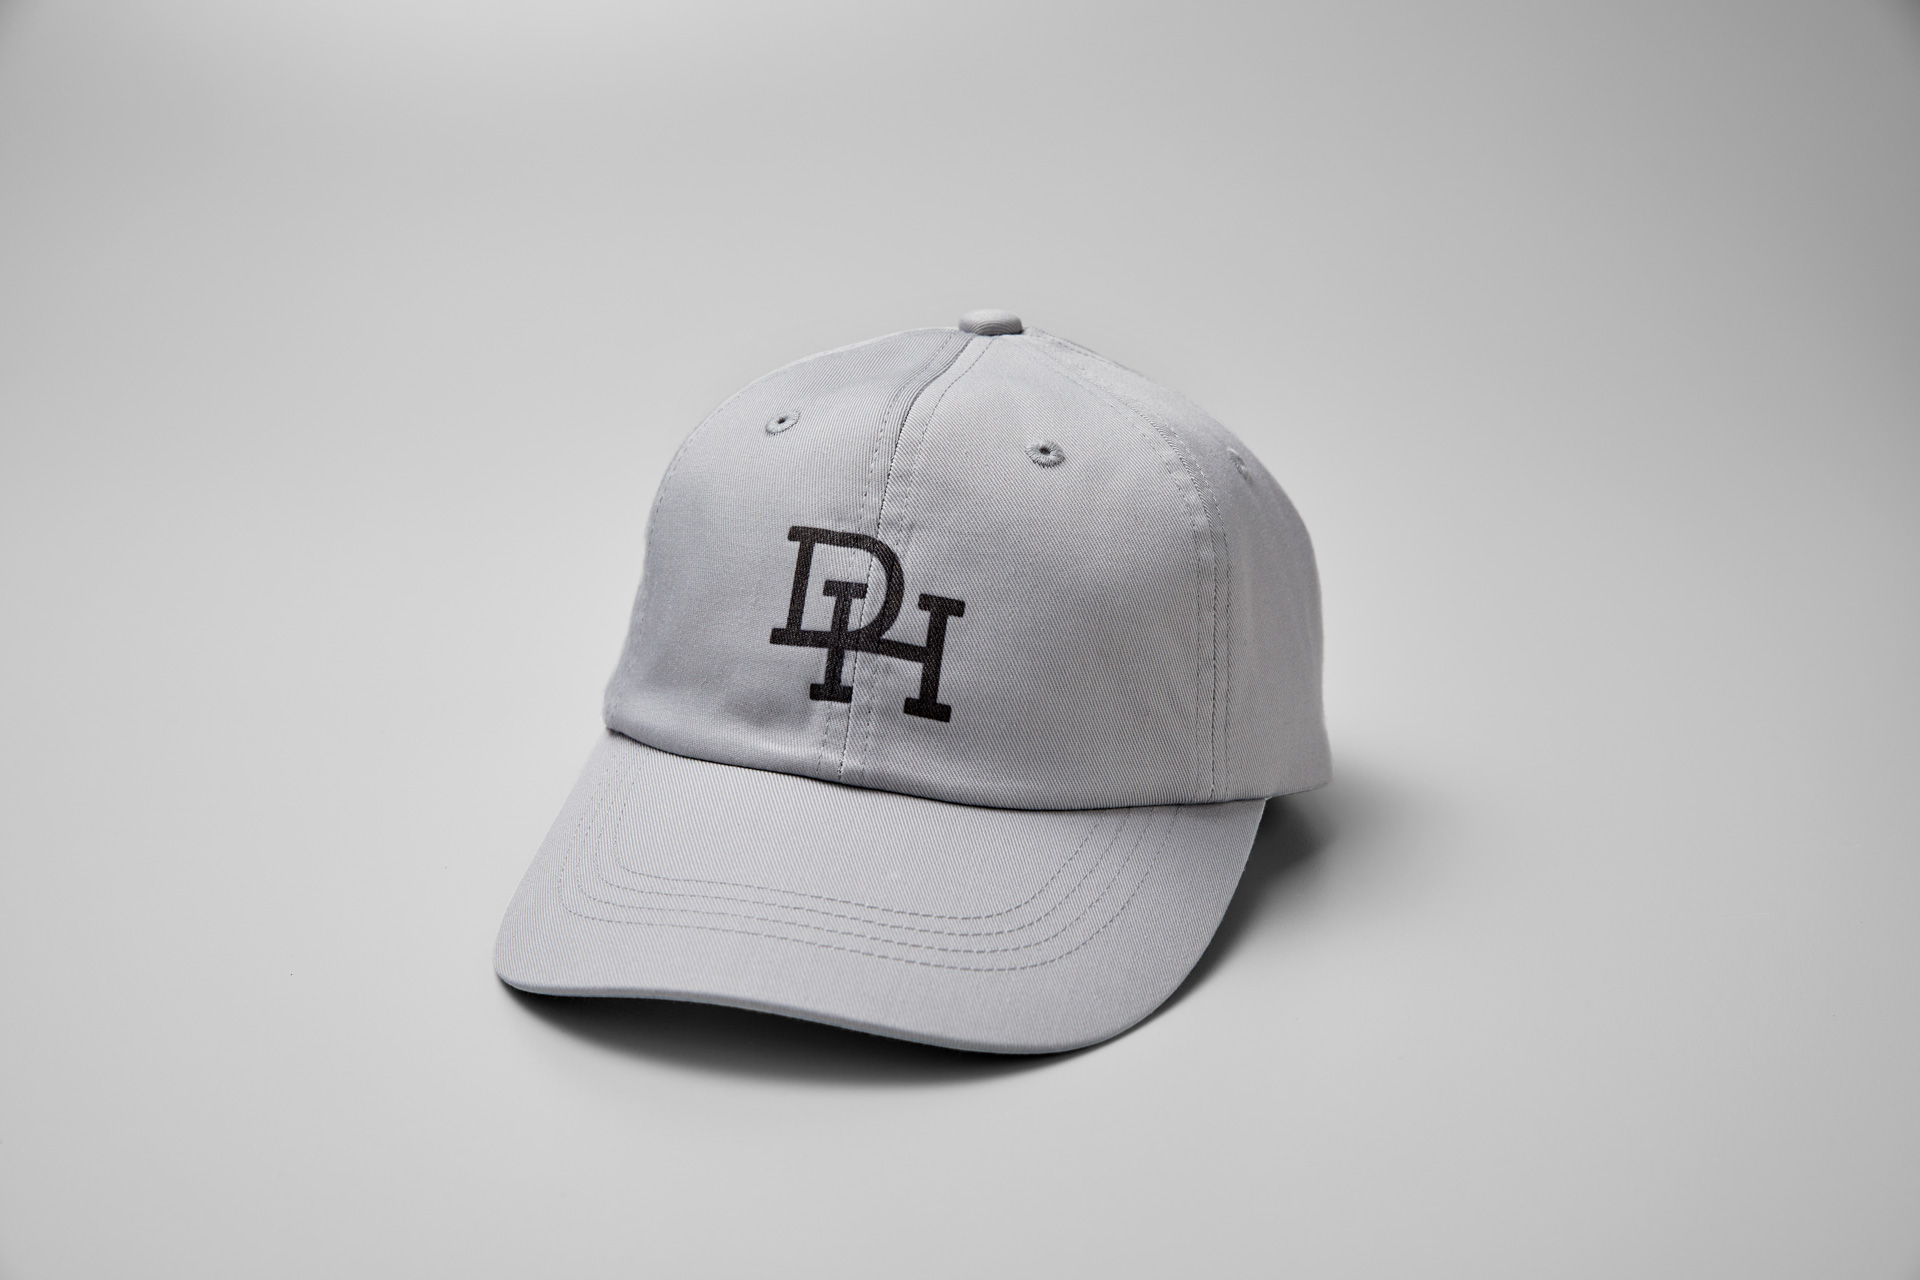
Whether you choose to use Iron-on, Infusible Ink transfer sheets, or Infusible Ink pens and markers, there are so many ways to customize and personalize hats for the people and events in your life. Now that you’ve got Cricut Hat Press, what hats will you make? Show us what you made by sharing with #Cricut on social!


Search How-To
I want to make...