Easy to make back-to-school photo shoot props

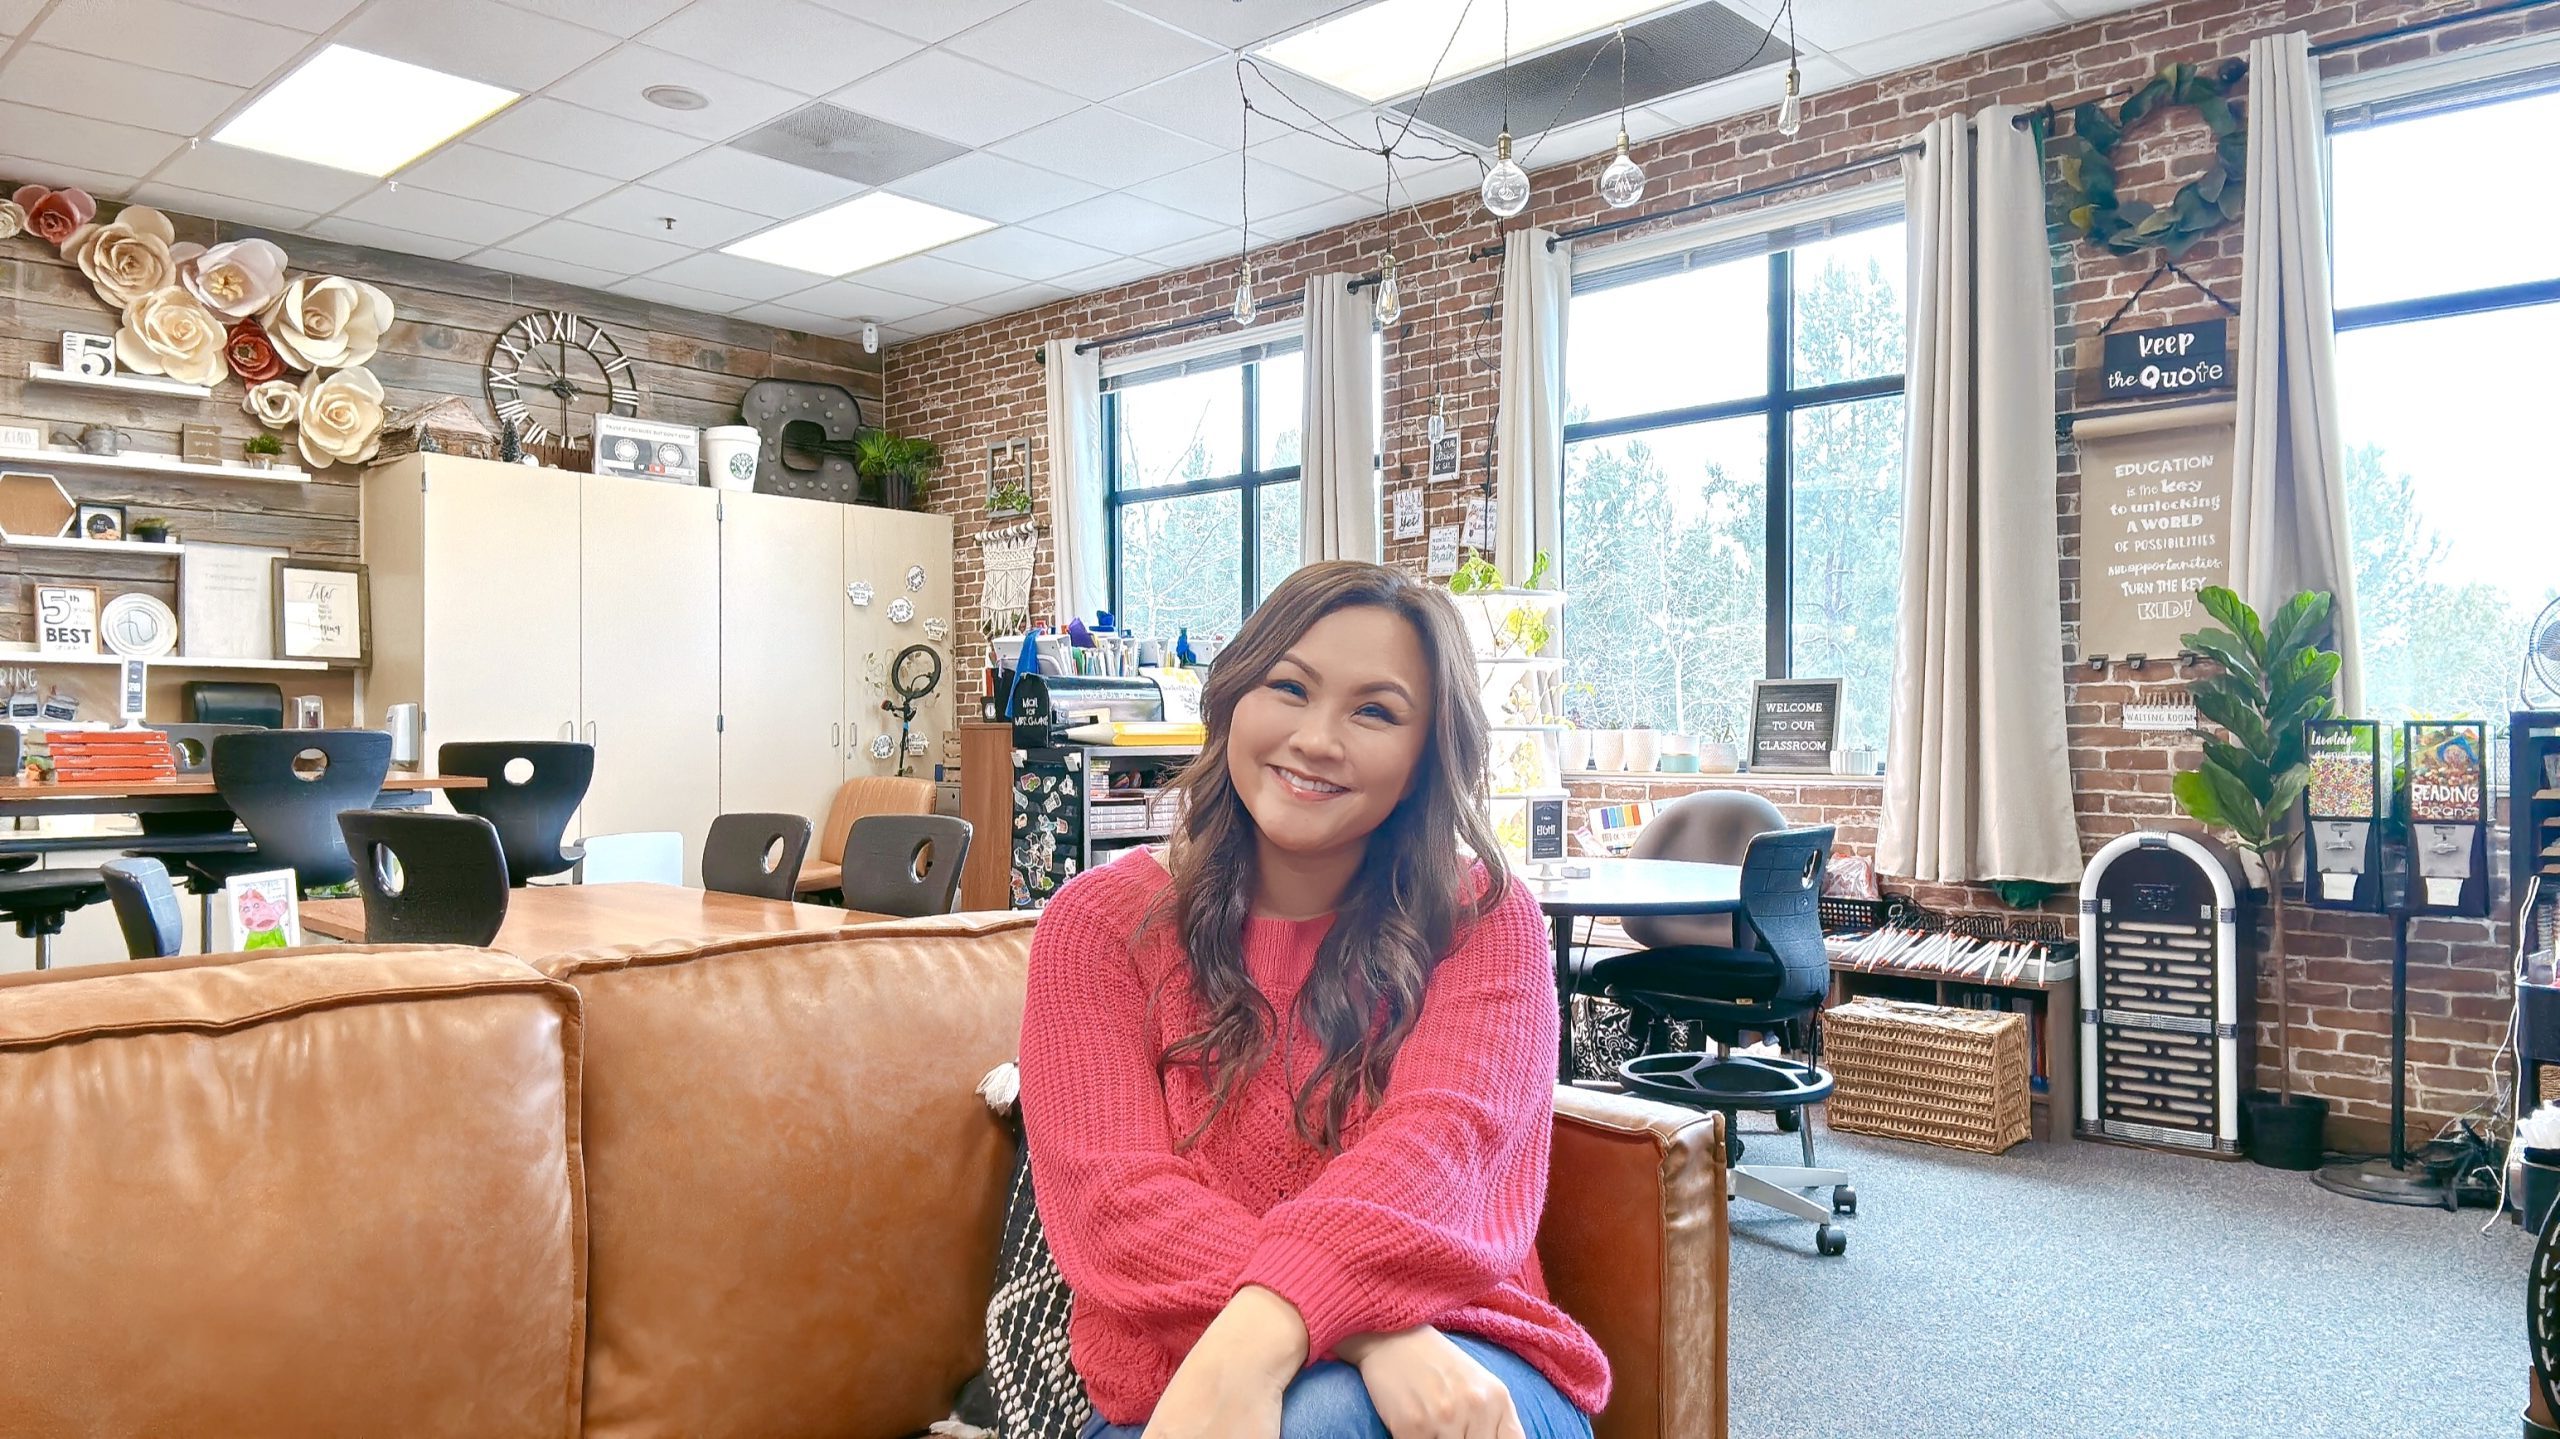
Karen Martinez, blogger, mom, and craft extraordinaire, teaches us how to craft cute back-to-school photo shoot props for kiddos headed to the classroom.
It’s back-to-school season! For some of us, it is the first time our kids have the opportunity to safely attend in-person classes, which calls for extra celebration. One of my favorite parts about the return to school is seeing all my friends and family share their kids’ first day of school photos. What better way to celebrate the beginning of the school year than with some easy-to-make back-to-school photo shoot props made with my Cricut machine!
Paper crafts are how I was introduced to Cricut, so anytime I get to create with paper I can’t help but feel nostalgic. I started crafting for my eldest daughter’s first birthday and am now shooting her 6th-grade photo shoot! I swear I just BLINKED!
Throughout my crafting journey, I brought birthday party crafts, teacher gifts, and other creative ideas to life with help from my Cricut machines. No project ever disappoints!
For my back-to-school photoshoot props I used my Cricut Maker, however, I recommend checking out their newest Maker 3 model. That’s the beauty of Cricut machines– you can feel like a pro with any model, but they continue to upgrade and enhance their tech to make our creations even easier to execute!
Now let’s dive in and get these photoshoot props made for those adorable back-to-school photos!
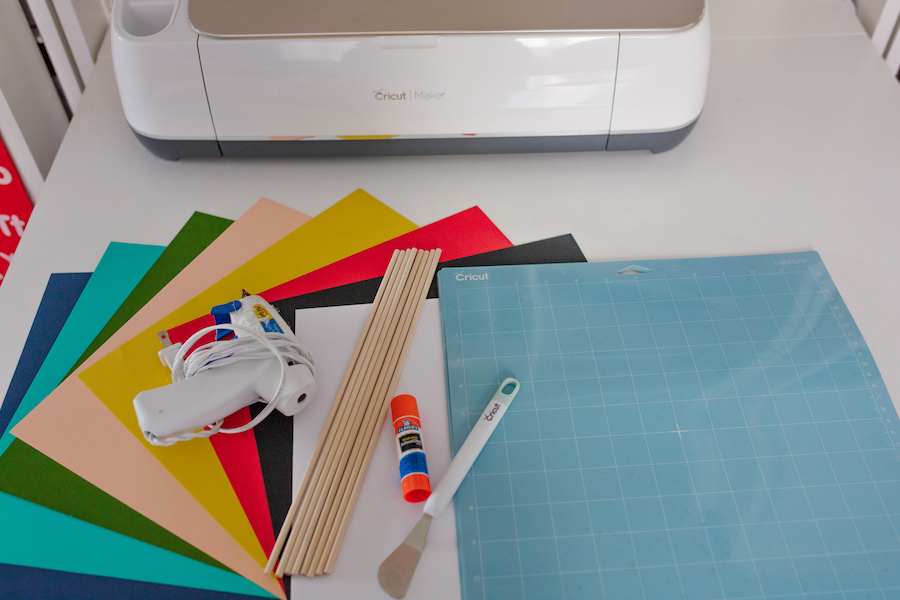
Back-to-school photo shoot supplies
- Cricut Maker
- LightGrip Machine Mat
- Cricut Cardstock Sampler – Blue Tones
- Cricut Cardstock Sampler – Green Tones
- Cricut Cardstock in White
- Cricut Cardstock in Black
- Wooden Dowels
- Hot Glue Gun
- Glue Sticks
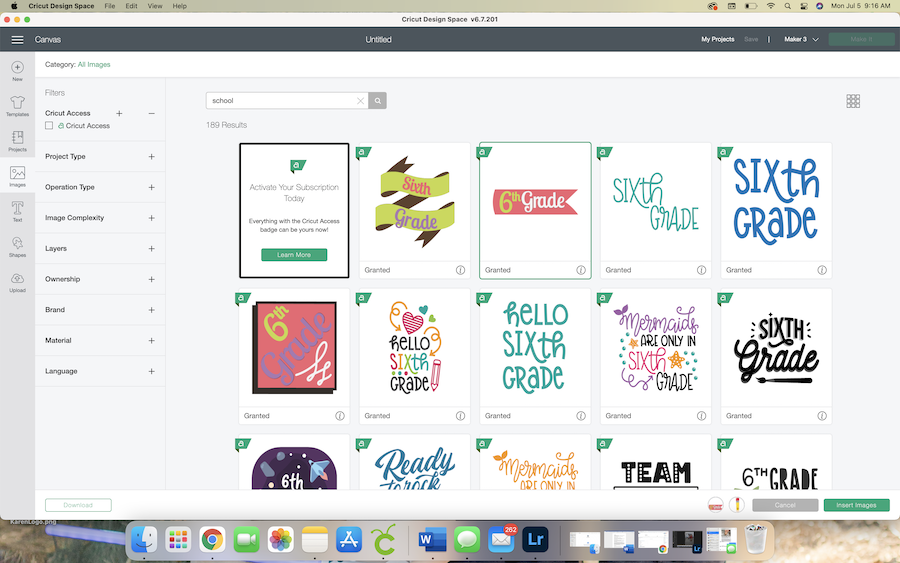
Photo shoot prop design
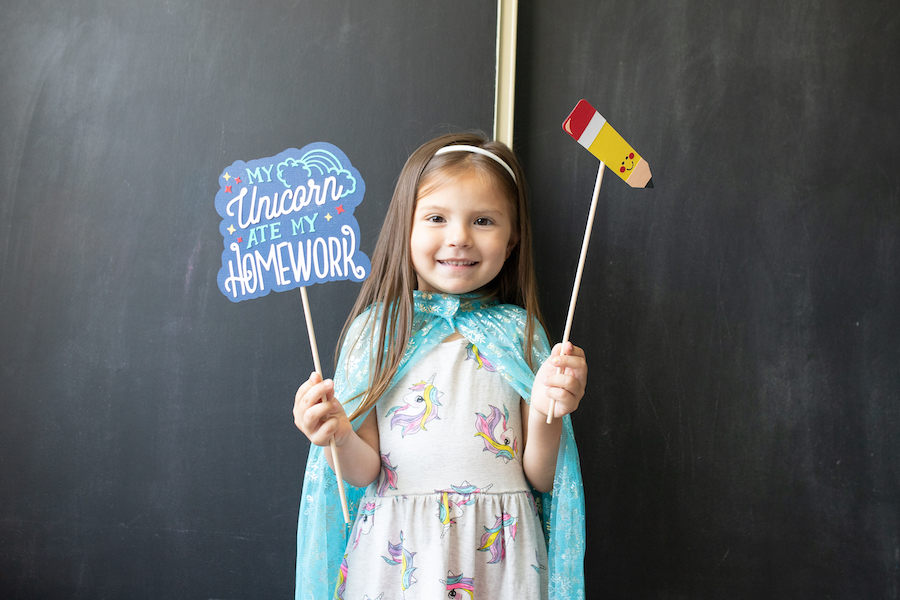
I kept my design super simple and found school-themed images in Design Space. My goal with the photo shoot props was to have a mix of images, funny quotes, and empowering quotes.
In order to be able to use them for both my preschooler and 6th grader, I didn’t specify grades in my prop design. Luckily, Design Space had so many images to choose from it made this project super simple! After choosing my images on Design Space I sized each image to about 6 inches for them to be visible and readable in our pictures.
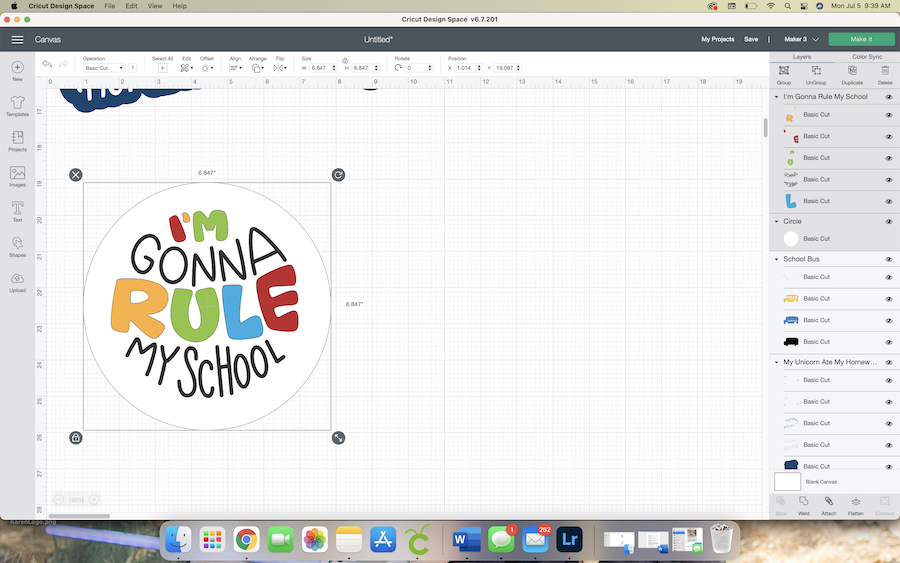
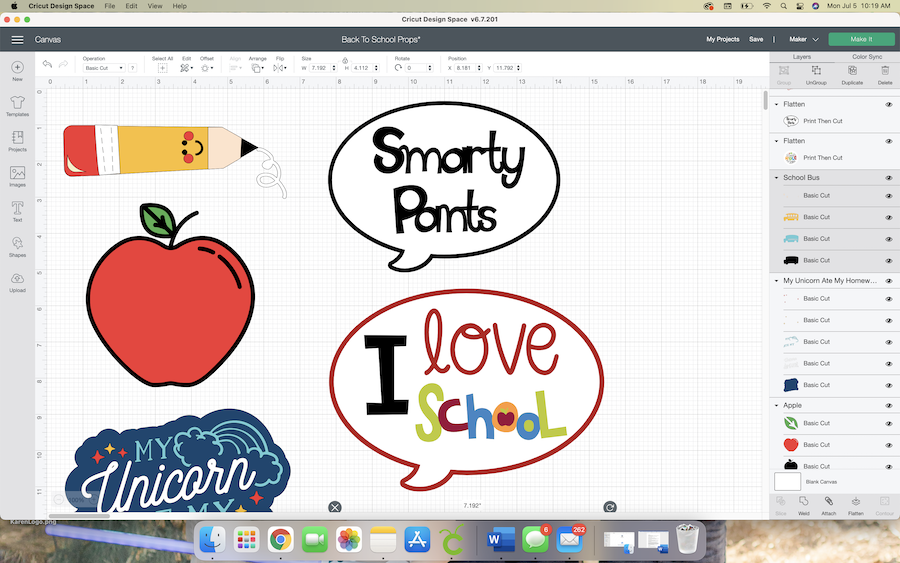
To create quotes and word bubble props, I used the Print Then Cut option to add text to my design. First, I added two white circles and layered the “I’m Going to Rule My School” and “My Shark Ate My Homework” quotes on them. To flatten the images, I highlighted the circle and quote altogether, then clicked the “Flatten” button in the bottom right corner of my screen. This allowed me to transform my design into a Print Then Cut image.
Cutting the photo shoot props
The first step for me when I cut is to examine my design and see if there are any similar colors. If there are, I go and change them so that I have fewer mats to load. I ONLY do this if there are similar colors, like two blues very close in shade.
It’s also highly recommended to look through your cardstock collection and change the colors within your designs to match the colors of cardstock you already own. I like to challenge myself to use materials I already have to create something beautiful– it’s a sustainable option that also saves money!
Once I sort through the colors, I grab all my LightGrip Machine Mats (the blue ones). I highly recommend having multiple mats, it makes the cutting so much faster.
The Design Space loaded mat screen is a time saver to let you know what cut is next. This view helps you make sure that your mats are loaded properly and prepped ahead of time. Once you are ready, follow the prompts to cut your designs. Check that the proper cardstock type is selected to ensure that your machine applies the correct amount of pressure to the cut.
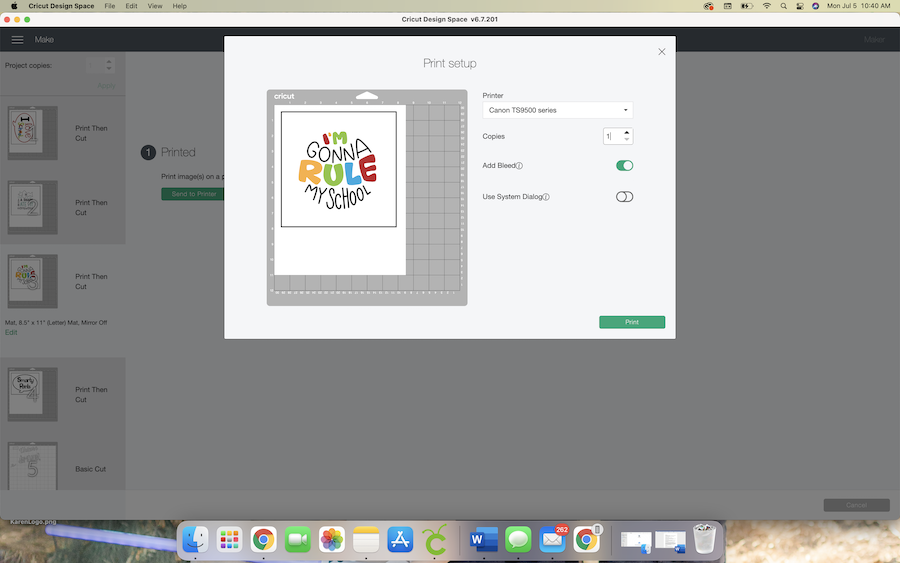
For your Print Then Cut images you will be instructed to print your image, then adhere it to your mat. Your machine will scan your printed image and cut it.
My BIGGEST tip, when removing your cuts and paper from the mat– flip it over and peel the mat from the paper to help prevent or lessen the paper from rolling.
Layering your props
For your Print Then Cut images you can skip to the next step.
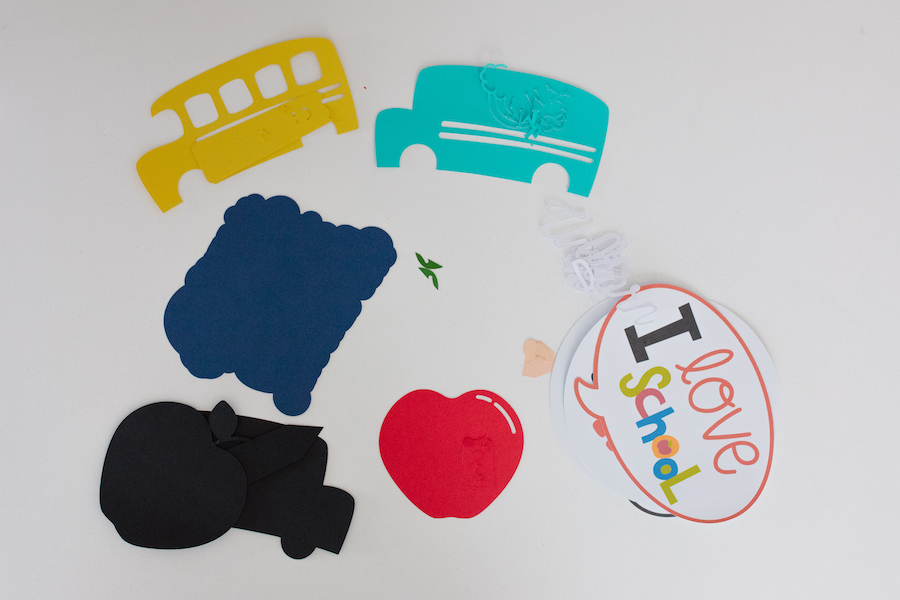
Once you have all the pieces to the images it’s time for my favorite part: putting them together. My kids are always in shock to see a bunch of cutouts transform into the final image. When it becomes a design they recognize, they go nuts!
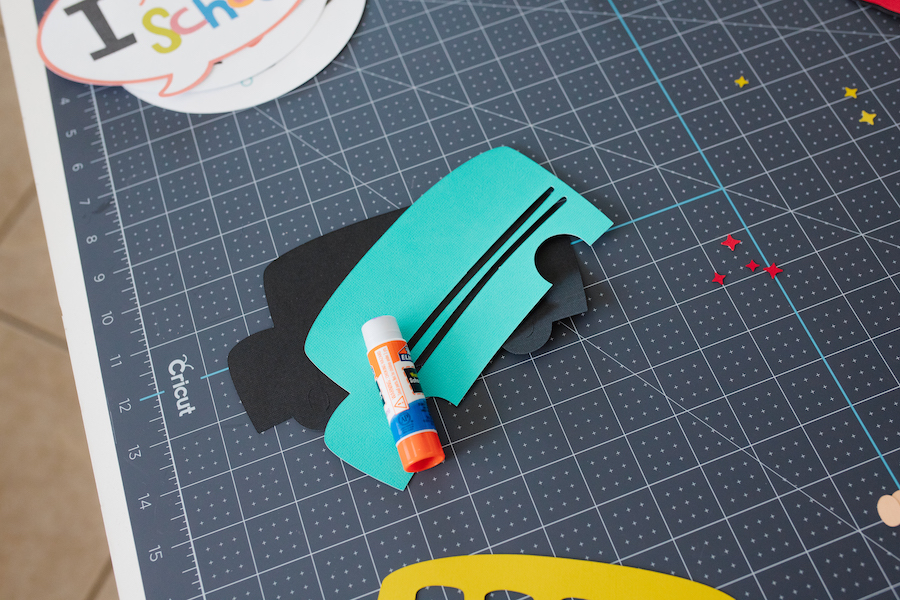
I use a regular glue stick to adhere the cardstock designs. Be generous with the amount of glue you apply. For reference, I keep Design Space open so I can look back and make sure I apply the layers correctly.
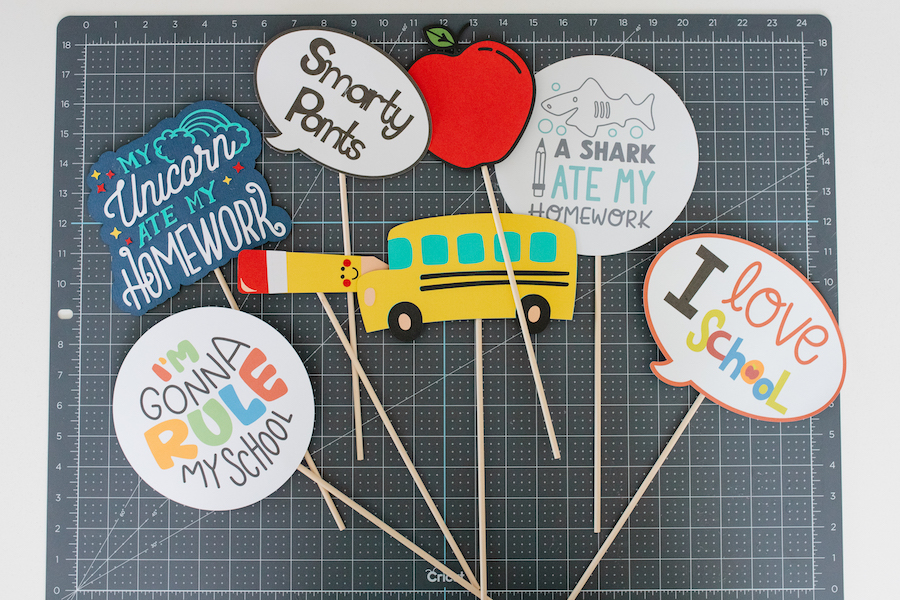
The last step is to attach your dowels to your finished images. For this, I recommend using a hot glue gun for a strong grip.
The final step? Take fabulous photos!
What a fun and easy craft to create memories to last a lifetime! You can store your props for next year or pass them on to a friend for their images.
We had so much fun using our props for our back-to-school photo shoot! Each of my girls posed with a prop that fit their personalities and had a great time being silly with them. We can’t wait to see what back-to-school photo shoot you and your family create!
Related Making
Search How-To
I want to make...